
If you are an avid cyclist you already know how it feels to have a flat tire in the midst of a cycling expedition. Things get worse if you or any of your companions don’t know how to change your bike tube. Such situations are so frustrating that often ruin a good mood.
Sh*t happens! You should always prepare yourself for the worst possible things. Gladly, we can help mitigate your annoyance and guide you to the right gateway of learning to change your bicycle tube.
Before that, you should understand the reasons behind a flat tire. This will allow you to avoid the underlying causes and get better performance from your best bike tubes. The following section will help you get an insight into the salient causes for a flat tire.
Back to Basics: How To Change a Bike Tube
Diagnosing the Primary Reasons for Punctures
There might be several reasons that contribute to damaging an inner tube. Not all of them are diagnosable, but the two major causes are as follows.
1. Pinch-flat Effect
This happens due to the excessive low pressure of tires. The tires often hit bumps when riding along uneven roads. This causes the tire to compress and pinch the inner tube, and consequently, punctures the tube and produces a flat tire. This is often the case that damages a bike tube.
You can easily avoid such problems by maintaining the right air pressure inside your bike tubes. What is the right pressure? That’s a legit question. The optimal pressure depends on different factors such as surface conditions, tire volume, weather, your weight, and personal preferences.
Weight plays a big role in determining the correct pressure of your tubes. If you’re an overweight person, you need to inflate tubes to the fullest since it will prevent the tubes from getting compressed against the rim and falling a victim to a pinch-flat. The theory changes for lighter riders. Keep the pressure to a bit lower for them.
2. Unwelcome Fragments of Things
Sometimes, you may not have any idea why your tube gets punctured. For such cases, there are often some unwelcome fragments of different things that try to make their way through tires and prick bicycle tubes. Deflate the tire completely to find out these fragments or any sharp objects that may cause a puncture. Get rid of all these unwanted particles and seal the hole perfectly for the next rides.
How To Change Bike Tube?
No matter how cautious you are, you are likely to deal with a flat tire many times in your biking life. So, learning how to change your bike tube is essential to help get into cycling without worrying about a flat tire on and off the road. The process is simple and like other skills, you have to master it by practicing more.
Step 1: Gather All the Things You Will Need
Arrange the following materials and tools before you opt to change or repair a bike tube.
- Bike Tire Lever
- Screwdrivers
- Wrench
- Replacement/New Inner Tube
- Air Pump
- Patch Kit
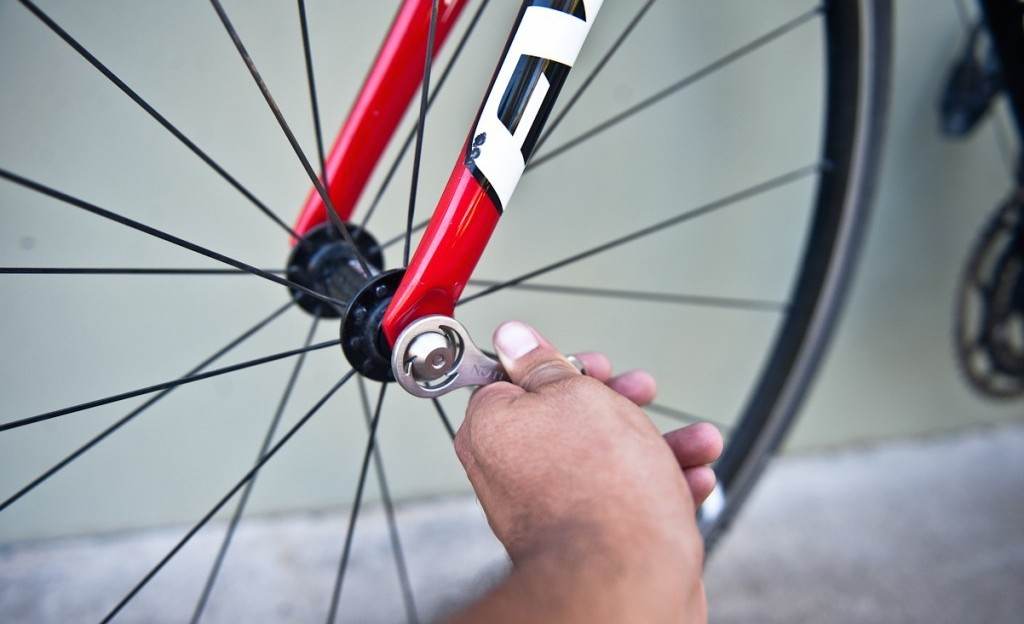
Step 2: Remove the Wheel
If you have a flat tire in the middle of a ride, at first, go to a safe place away from the busy trail or road. Use the handlebars and seat as a temporary stand to place your bike when flipping the bike upside down. This makeshift work-stand will support your bike letting you take out the wheel from the bike frame.
If you’re removing the front wheel, open the brakes beforehand. Loosen the bolts using a wrench on both sides of the wheel so that you can pull the wheel axle free from the bike.
When removing the rear wheel, the chain comes in the scene. Rotate the pedal and carefully pull off the chain from the wheels before removing the wheel from the bike.
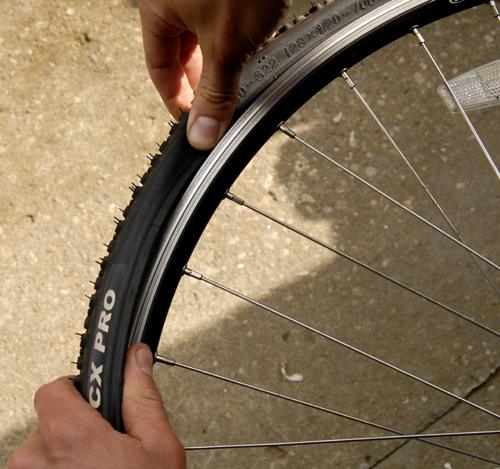
Step 3: Pull Out the Damaged Tube
Once the wheels are free, it’s time to remove the old tube. Deflate the tube by taking off the valve cap. Stick a screwdriver or lever in between the wheel and tire. Now run the lever or screwdriver the same way around the edge of the wheel rim to take the tire off. You don’t need to take out the whole tire, a partial opening will allow you to pull the inner tube out easily.
Step 4: Inspect the Tire & Tube
It’s better to fix a tube, if possible, than inserting a new one. Examine the old tube thoroughly to find out leaks. Check if the holes are repairable. Employ a new tube only if they are beyond your repairing ability.
The next step is to check the inner side of the tire. Get rid of any unwelcome fragments or sharp objects that may cause a puncture to your tubes.
Step 5: Install a New Tube
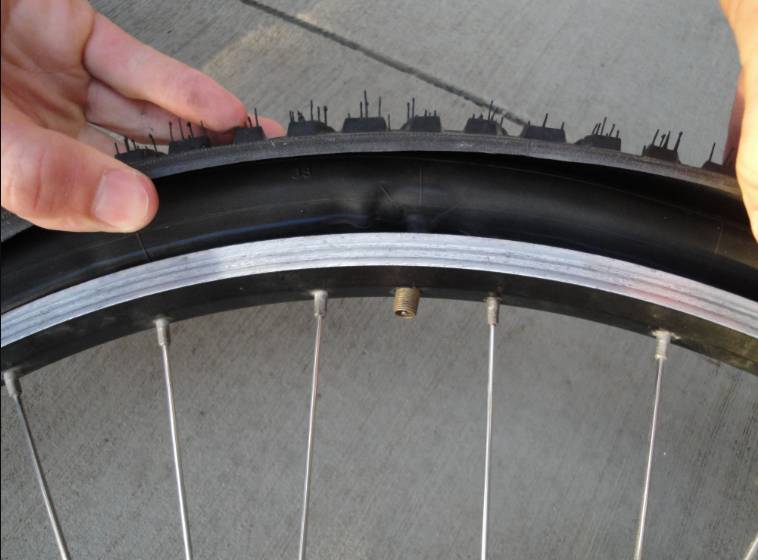
Inflate the new tube to a point so it takes the shape of a basic circle. Don’t add too much air since it will make the installation process harder for you. Now it’s turn to accomplish the critical task of feeding the new bicycle tube in between the tire and rim. Start with the valve and place it through the dedicated hole of the wheel rim. Tighten the valve stem if it comes with a lock ring. Gently secure it in the right place by using your hand.
Now install the rest of the new tube all around the edge of the tire to feed it inside correctly. Once you are half-done inserting the tube, pump up a bit more to harden the circular shape. This will ease the installation process to a great extent. Keep an eye on the tube to ensure that it isn’t twisted anywhere.
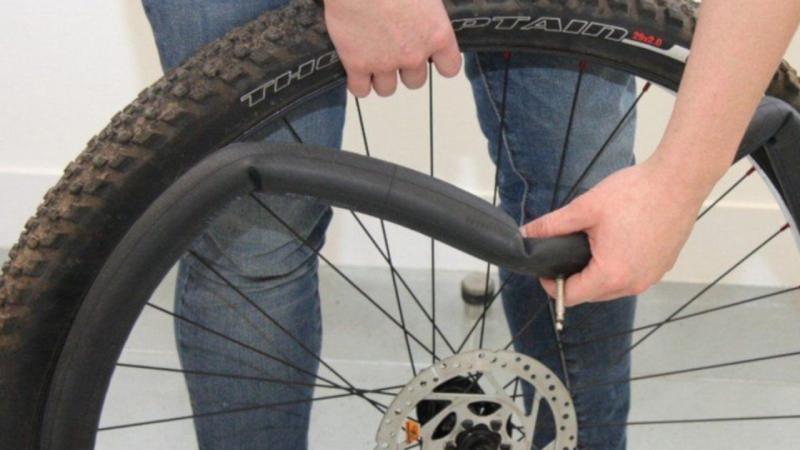
Step 6: Put the Tire Back
Tuck your tire back into the rim of the bike wheel frame. Use your both hands to gently push the tire back. Don’t rush it, tuck in one section at the same time. Make sure that all part of the tire is within the channel of the rim and the tucked part isn’t coming out. Use a tire lever or prying tool at this step to ease the process. But don’t dig in too deep with the tool since it may reach out and pinch the tube.
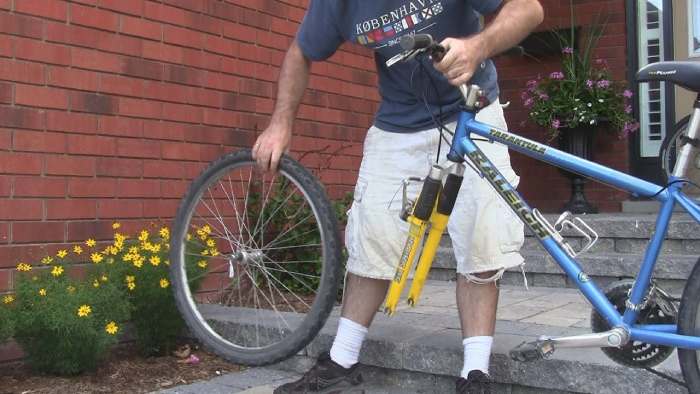
Step 7: Pump up the Tube
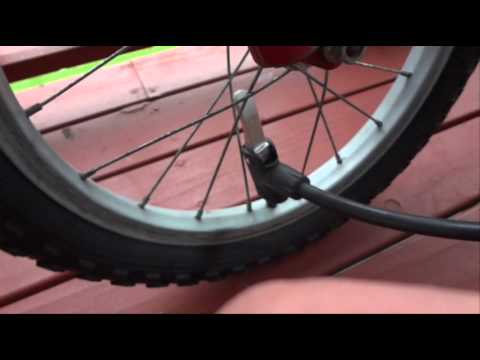
This step doesn’t require any special skills. Get an air compressor or a pump to fill your new tire with air. Just keep in mind, ensuring the right air pressure is important to avoid a pinch-flat as we discussed above. Inflate the tube moderately making it ideal for both heavier and lighter people.
Step 8: Reattach the Wheel
You already know what to do now. Just follow all the steps of removing the wheel in reverse. Attach the wheel axle to the bike and tighten the screws with a screwdriver. For the rear wheel, insert the chain by rotating the pedals. Don’t forget to reattach the brakes too.
Step 9: Take a Ride & Troubleshoot
Flip your bike to the regular position and go on a short bicycling ride to check if the tube turns flat again instantly. If it does, the tube is likely to be faulty. Check the tube with painstaking attention. Fix it if there is any visible leak, otherwise replace it with a new one.
Useful Tips
- Avoid using metal levers as they might facilitate the puncture.
- Pay great attention to the valve stem when inflating the tube. A broken valve will cause a great nuisance.
- Don’t dump your unusable tube on the roadside. Tubes and tires are not naturally disposable. Put them in a bin or dispose of them perfectly to help mother earth live with less waste.
- Perform a short bike ride as a trial before each tour so that you can find and fix the issues beforehand.
- Most importantly, don’t look out for cheap options when buying a tube. Spend more on such sensitive parts and live worry-free for a long time.
FAQ
Q. How can I repair my flat tire without taking the wheel off?
A. You need not replace the old tube for a tiny leak, and only repairing the leak with a patch will suffice. Follow the below steps to repair a flat tube without removing the wheel.
- Flip the bike over so you can access the wheel freely.
- Check for any sharp object in the tire. Follow the next step if you don’t find anything such.
- Pump a bit of air and listen for air seeping out. If you still don’t notice anything, this repair is going to be harder.
- Cringe off the tire using levers and pull out the tube to find the puncture.
- Now that the whole tube is out of the wheel rim, you’ll see and feel the air seeping out. Put a bit of spit on it and air can be seen bubbling out.
- Use a small file or rough sandpaper to the rough up area around the puncture
- Apply a good quality glue to the area around the puncture and let it dry for 5 minutes.
- Now inspect the wheel, clean the tire and tube and check for any sharp fragments in the tire.
- Apply the tire patch carefully right on the glued area.
- Put the tube and tire back in place. Make sure not to puncture them with levers while doing so.
- Fill the tube with air as per your requirement.


