
In the movie “Butch Cassidy and The Sundance Kid”, there is a memorable song, “Raindrops Keep Fallin on my head” sung by the two guys riding a bicycle riding pillion looking cool. They would have felt pretty foolish if the chain had snapped or slipped and they took a bad toss. So the moral here is, your bicycle chain is the transmission of your bike, and a key component of the drivetrain. You need to take good care of it to keep up the efficiency or you’ll be pedaling getting nowhere, not to mention getting beset by chain slippage or snapping. This is a direct fallout of chain wear. You can well imagine your state getting into work with mussed up clothes and greased hands. In this guide, we’ll focus on how to fix a bicycle chain.
Why Do Chains Break or Slip
Chain slippage is caused by chain stretch. The stretching process starts the first few rides and continues gradually over time. If the chain stretches beyond its tolerance, the result is slipping off the chain. It is also caused by poor gear shift technique.
Chain wear is synonymous with chain stretch and is an occupational hazard of the cyclist and is natural.
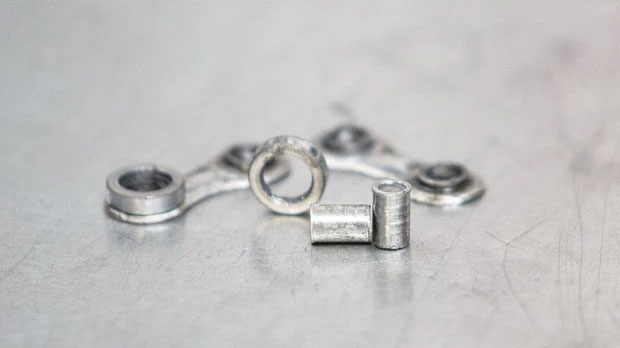
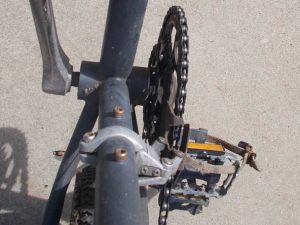
To better understand the mechanism of wear, we will consider the chain segments. Many individual bits make up a bike chain. These pieces are pins, inner and outer plates, bushing, roller. Integral with the inner plate is the bushing and in modern bicycles and keeps the roller held in.

Each link is conjoined to the next, inner plate to the outer plate.
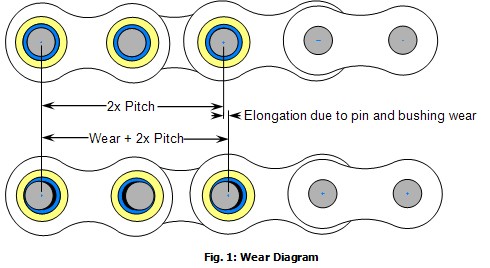
The spacing between pins is 0.5 in. (12.7mm). This is called ‘chain pitch’, an industry-standard, prescribed for bikes that are multi-speed.
As the pitch length increases, chain stretch results when the bushing wear down along with the pins.
It is commonly agreed that a 0.5% increase in pitch length signals that a new chain is required. At 1%, the maximum, your chain is truly cooked.
‘Slop’ is another form of chain wear caused by the chain’s sideward motion but this type of wear cannot be measured by a DIY enthusiast.
How to Fix a Bicycle Chain by Yourself
How to Fix a Broken Chain
You will require:
- Solvent spray or WD40
- Chain Tool
- New chain link or a quick link
- Rags
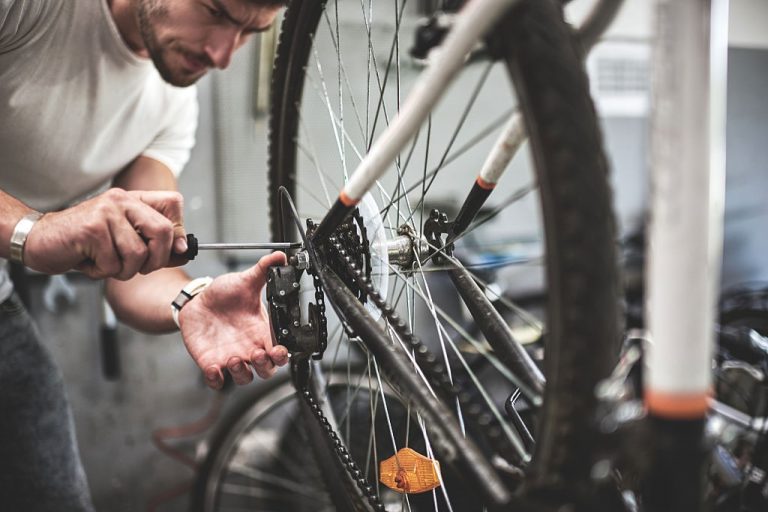
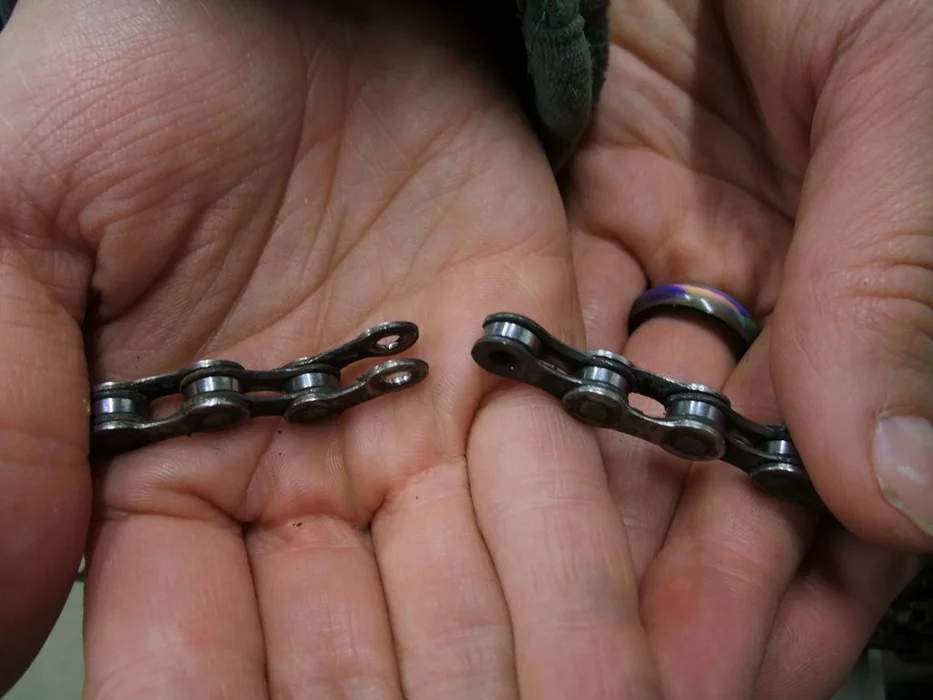
This section is for replacing a link which has snapped or a link so damaged that it is causing the chain to jump with snapping imminent. A broken link will be obvious.
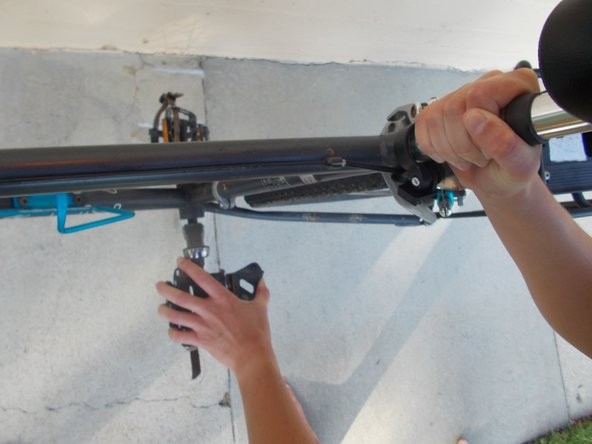
Step 1
Flip your bike over so you have easy access to the chain.
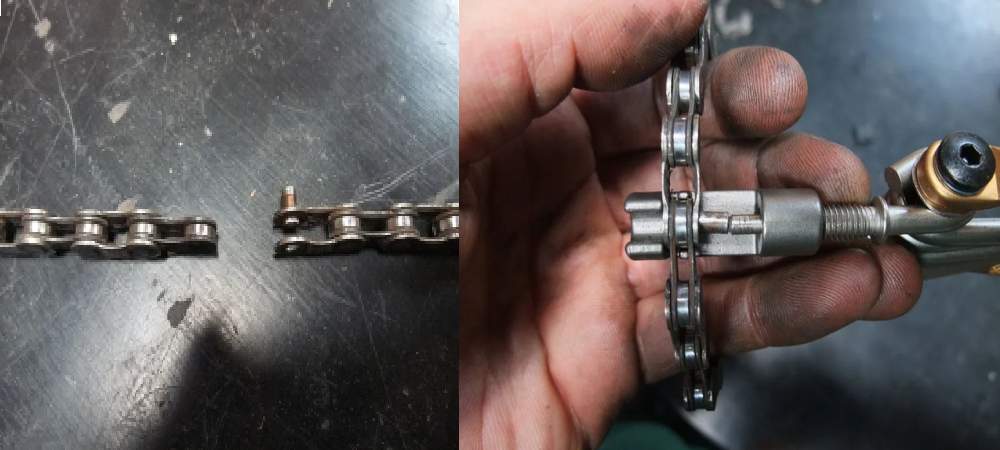
Take a good look at the broken ends. You may have to replace both outer links or both inner links depending on the damage.
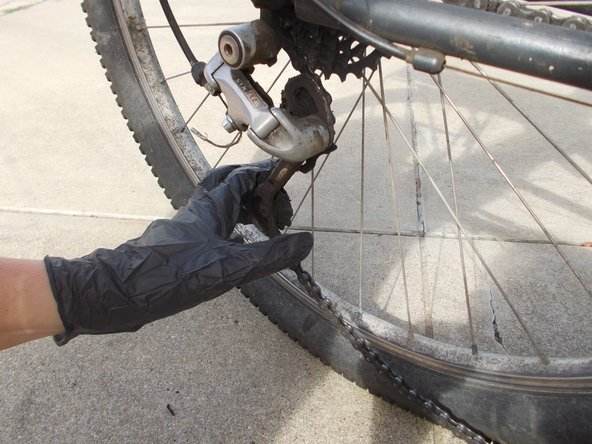
Step 2
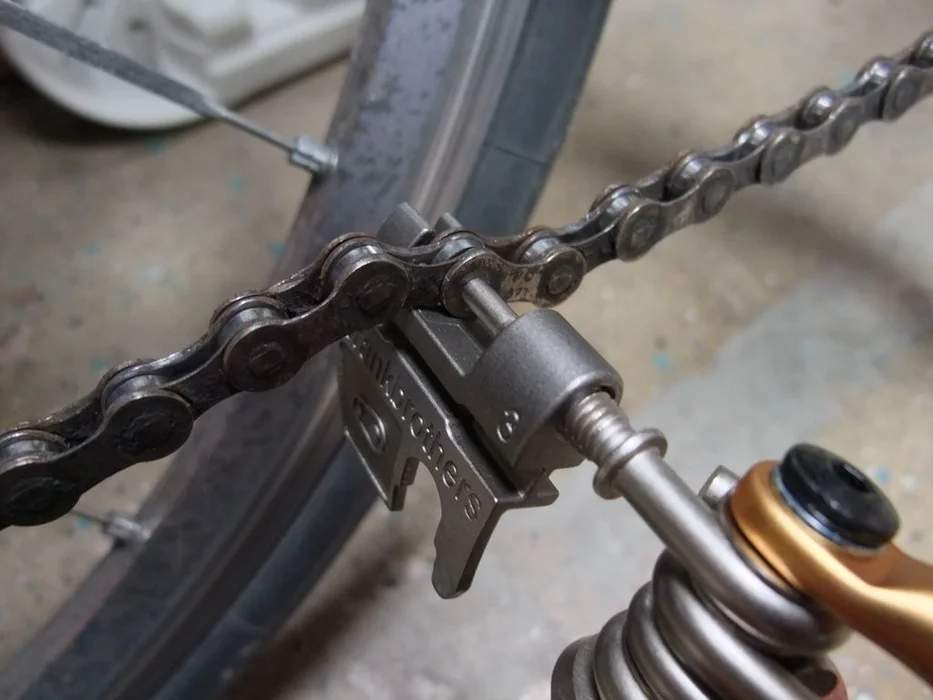
Using the chain tool to disconnect, insert the chain into the groove at the spot where you wish to separate. This can be accomplished without a chain tool also using hard-nosed pliers.
Step 3
Push the pin out by turning the screw of the chain tool. The chain tool pin and the chain pin have to be lined up carefully as there is a tendency for them to slip.
There is no need to push the pin all the way out, just enough to disconnect. The pin will be pushed back in later.
Step 4
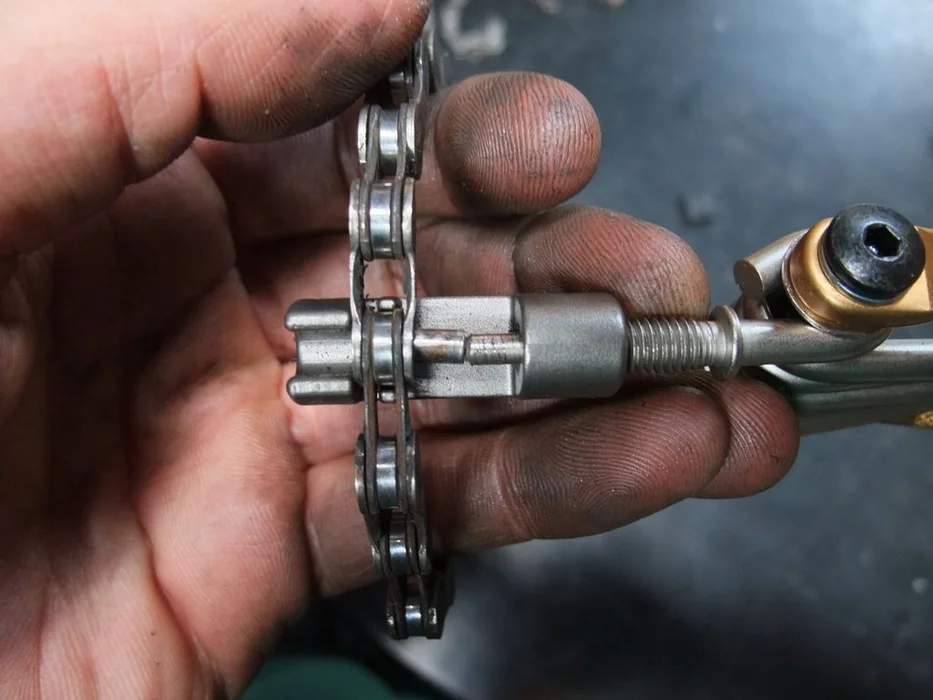
We will proceed to reattach the links.
Feed the chain back into the sprockets. If you have help, that would be great.
Push the pin back in with the chain tool. This part is a mite tricky, to keep the pins lined up that is.
Step 5
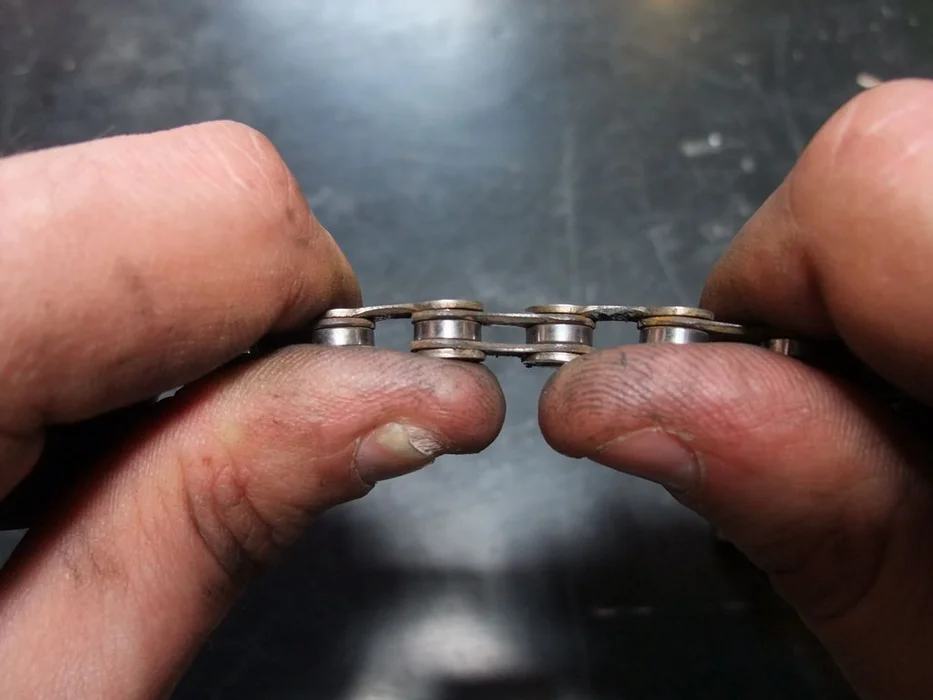
Once the insertion of the pin is accomplished, the new link will be a bit stiff. Work it loose by flexing it so that it fits around the gears easily without getting stuck.
How to Fix a Slipped Bicycle Chain
So, your bike chain keeps falling off? We have been through the wherefores, etc. let’s get practical.
Step 1
- Before coming off bike, shift gear into lowest (the chain is spooled over the largest chain-ring)
- Continue pedaling. This alone is sometimes sufficient to fix the issue.
Step 2
- Okay, step 1 didn’t do the trick.
- Get off the bike now, lift the rear wheel and spin the pedals by hand
Nothing doing still?
Step 3
- Nudge rear derailleur forward to release the tension on the chain
- Lift and place the chain back on the chainring
- Turn the pedal with your free hand, at the same time lifting the rear wheel to realign the chain
- It may take a few tries but it eventually works
If your chain slippage incidence is high, then you could attribute it to extra wear. Obviously chain stretch has reached borderline tolerance levels. Carry out the appropriate calibrations, pitch length, etc. and you will be presented with a clearer picture of whether your chain needs to be replaced.
If it is still causing a spot of bother, you will need to check the cogs and chainrings for wear. If it’s not possible to fix the chain, then you have no option left other than replacing your bicycle chain.
Tips for Fixing a Bicycle Chain
Tinkering around with a bicycle chain is one dirty job.
That apart, you can pinch your fingers or hurt yourself otherwise.
The section of the chain adjacent to the link may be grimed up. Clean with a rag or spray a little degreaser or WD40 to make your job easier.
Always keep both a new link and a quick link ready at hand in stock.
A mountain bike chain is no different. Just follow these steps.
Normally, a chain snapping or slipping could land you in an awkward spot if you are not prepared. A chain snaps only at a high load and can cause hurt as it can happen when you are exerting maximum power on the crankshaft. This is avoidable only by following a regimen of thorough inspections. Here we only have tackled on how to put a chain on a bike, but a chain snapping without telltale signs is a one in a million chance. Be a responsible biker and wear safety gear whenever you jump into the saddle.


