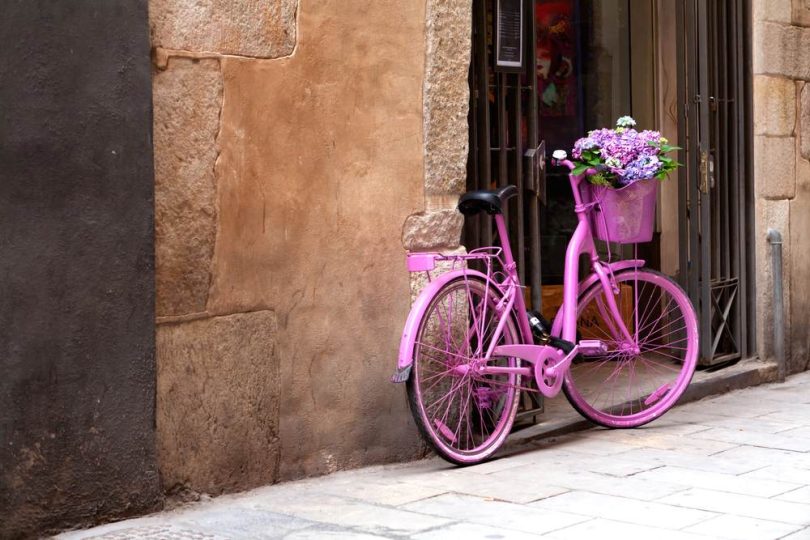
If you’ve gone bored with your bike’s color and feel that the frame looks too ordinary, there are always options.
You can either customize the frame with decals and stickers, or you can repaint it yourself to have an amazing custom look!
Here we will show you how to paint a bike without spray paint so your bike stands out when you ride it outside.
Types of Paint for Bike
-
Epoxy-based paint
Epoxy-based paints are made of acrylic and epoxy mixed together for a nice color. Epoxy-based paints are common due to their ease of use and durability.
However, they’re difficult to remove and the epoxy can turn yellow if it’s left in the Sun for long periods of time.
-
Aerosol paint
The aerosol paint comes in pressurized cans with a primer for easy application. Spray cans make applying your paint simple and painless.
However, aerosol cans contain lots of harmful chemicals and if not properly stored, they can leak and explode from the pressure in the can. Always practice caution and good safety habits when using this type of paint.
-
Enamel paint
This is a solvent-based paint that dries into a hard, shiny shell. It is used most often to refurbish or repair home appliances.
It is not really used for painting bikes but you can make do if the above two types are not in your arsenal.
What are the Alternatives to Spray Paint?
- Primer, Colored coat, and Clearcoat
This three-step process involves three different kinds of paint with each applied layer by layer.
- You need to lay down the primer first. This allows the rest of the paint to stick and gives a protective. A primer made with zinc chromate is particularly good for preventing rust.
- Next, you will add your color coat after the primer dries. This part is straightforward. Always make sure to be neat.
- The clear coat is to add a layer of protection from the elements and keeps dust out of the colored paint. This always goes on last.
- Carbon touch up paint
This kind of paint is mostly for fixing scratches or nicks on the paint. It’s made from the same materials as most bike frames (metals) and is quick to dry and handy to have.
How to Paint a Bike Without Spray Paint?
Step 1: Disassemble the bike
Before you start off with the process, disassemble the different parts of the bike. This gives you some organization to better track your progress and keeps you from getting paint on any place you don’t want it. You’ll also be saving time and effort while making the process easier.
Step 2: Sand the bike frame
After you’ve disassembled your bike, remove all of the paint on the bike. Use a rag with some rubbing alcohol to clean the bike completely, then get coarse grit sandpaper to sand off all of the paint.
Be thorough here since any leftover paint will mess up the new paint job. If you’ve got rust, use a good solvent to remove it.
Step 3: Cover the areas you aren’t painting
If you aren’t painting your whole bike, then remove any parts you don’t plan on painting. For things like the pedals and chains, make sure they are covered so you don’t get any paint on them.
Step 4: Hang the bike
You will be painting your bike for a while, so it’s best to be as comfortable as possible. Hang your bike parts up so that each part is more level with you – your back and knees will thank you.
This also lets it dry faster, with more air reaching a bigger surface easier.
Step 5: Apply the primer
For your paint to apply smoothly, you will need to apply a primer paint before you add anything else to your bike frame. A primer is a kind of paint that does two things: it blocks moisture from getting on the bike and smooths the surface of the frame.
After sanding, the bike is going to be very rough with lots of scratches. The new paint can leak into these scratches and make it look ugly. This is why we use a primer to ensure the surface is smooth.
Many paints are oil-based, so if there is any moisture, the paints will not stick to the bike properly. Your paint will look melted and you’d have wasted your time. So always use the primer first!
Step 6: Apply a coat of pigment paint
After the primer dries, it’s time for the fun part. Make sure you have all of the colors you want to use before you start. For brushes, you will need to decide what kind of paint job you are going to do. If you are just applying one color, then a thick, wide brush will be best. If you want lots of colors or little details, use thin, long brushes.
Make sure to have a rag handy to keep your hands and work area clean. Keep your brushes clean after use to prevent unwanted color mixing.
Step 7: Apply a coat of transparent paint on top
Once you’ve finished painting your colors on, it is imperative that you wait until your paint is completely dry before you continue. This can take between one to three days, depending on the paint you are using.
After drying, you will need to apply a clear coat to seal in the paint. If you don’t do this, the paint will chip away and ruin the paint scheme. The paint will oxidize as well, which may change colors among other things.
Apply your clear coat everywhere you painted. Make sure to get everywhere so you don’t have any bad spots.
Step 8: Let it Dry
Congratulations, you’ve made it to the end! Now just be patient and let everything dry completely. Once done, it’s time to show off that fresh new paint job!
Things to remember when you paint a bike without a spray paint
1. Put on protective wear
You’re dealing with all kinds of harmful chemicals and debris. If any of these things get in your eyes or lungs, you’ll have serious health problems. Always wear a filtered mask, plastic disposable gloves, and some kind of eyewear that covers the entire eye.
2. Use rubbing alcohol
Rubbing alcohol allows you to thoroughly clean your bike. It removes all dirt and grime and also disinfects your area. However, don’t use a lot of it, as it can be harmful if used in excess.
3. Use painter’s tape
The painter’s tape offers great coverage for all those parts you don’t want to paint. It protects any area from loose paint or accidental spillage.
FAQ’s
1. How much does it cost to repaint a bike?
Ans. Depending on the materials you buy, repainting a bike can cost between 40 to 150 dollars. This includes primer, color paint, clear coat, and any tools used like brushes and painter’s tape. If you want a professionally done job, it can cost several hundred dollars.
2. Can I hand paint a bike?
Ans. Hand painting a bike is perfectly doable. Just make sure you follow the steps correctly and your hand-painted bike will look great.
3. How do I protect my bike paint?
Ans. Always seal your paints completely when you are done painting your bike. Store them in a cool, dry place and use whenever you need them.


