
Personalization is half the fun of owning a bike and custom decals are a great way of customizing your bike.
However, most brands have their company logo slapped on bikes, which many of us would rather not have. Bike decals are simple to remove, but a small mistake can damage the paint.
Here, we’ll be showing you how to remove bike decals safely and quickly.
How to Remove Bike Decals?
Step 1: Gather your supplies
- Adhesive remover – You can buy this at any hardware store. One in a spray bottle is recommended to control how much you use.
- Hair dryer or heat gun – Adhesive will melt if heated enough.
- Soft cloth or sponge – It’s best to bring two pieces. One will be for drying the surface and the other to apply the adhesive remover.
- Something flat and dull – An old and unused credit card is the best option, but anything similar will work.
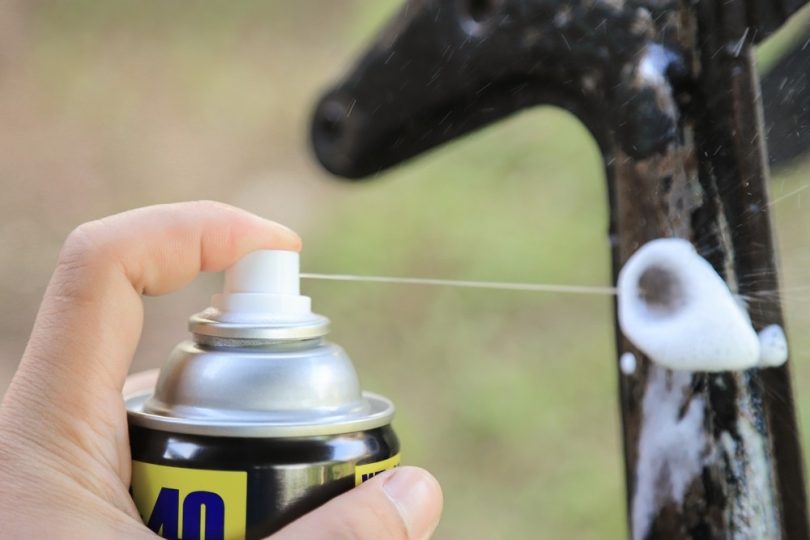
Step 2: Apply the adhesive remover
Spray the adhesive remover all over the sticker or decal you want to be removed. If you don’t have a spray bottle, soak some adhesive remover on a sponge and apply it directly.
Step 3: Heat the surface
Take your hairdryer/heat gun and set it to the “low” setting. Move it back and forth over the decal for at least 10 seconds. The reason we use the “low” setting is to prevent too much heat from getting on the frame. Excess heat can damage the metal and compromise the structure of the bike.
Step 4: Peel away the sticker
After you’ve heated the sticker, wait a few seconds while the decal cools until you can touch it. Take your flat object and scrape away the sticker in one direction. If you try to scratch it back and forth, the sticker will bunch up and become harder to remove.
Step 5: Check the surface
Once you’ve removed the sticker, run your finger along the area and check the surface. It will more than likely still be sticky to the touch. Gently scrape against the surface to get rid of the sticky surface. For more stubborn bits, run your heat gun over them to loosen them more.
Step 6: Soak adhesive remover
There will likely still be some residue from the old sticker on the bike. If it’s left on, any new decals won’t stick properly on the surface. Take your cloth and soak some adhesive remover onto it.
Step 7: Rub over the entire area
Apply the adhesive remover all over the area. Use the clean part of the cloth to wipe away the loose bits.
Step 8: Clean with water and dry
Take some water and wash away the adhesive remover. Make sure your bike is completely dry to avoid rust. You can now apply a new bike decal.
Tips
- A heat gun is more efficient than a hair dryer, but it is also much more powerful. You don’t want to apply too much heat, so a hair dryer is the safer option.
- Before you begin, make sure that the bike decal doesn’t have a clear coat over it. Clear coat paint seals the adhesive in, making it much more difficult to remove.
- WD-40 and nail varnish remover are good alternatives if you can’t get any adhesive remover.
Warning
- Always check the label of the adhesive remover you are buying. Adhesive removers that contain naphtha or acetone can strip paint away if used in excess. Follow any health and safety suggestions to avoid accidents.
- Don’t use sharp objects to scrape the decal off. They will damage the paint and metal of your bike.
- Never use an open flame to heat the decal. This is dangerous for both you and your bike.
- It’s not recommended to use a pressure washer to wash away the bike decal. The pressure from the hose will cause dents in the bike. If it doesn’t dry properly, then your bike will also begin to rust.
FAQs
Q. Does adhesive remover affect my bike paint?
Ans. Some adhesive removers contain chemicals that can damage or even remove paint. Make sure to check the ingredients in the adhesive remover you have.
Q. What should I watch for when removing a bike decal?
Ans. Check if the decal is glossed over with a clear coat before you start. Always clean your bike before removing the decal. Dirt and grime mean more work for you.


