
Lumens are usually used to measure the brightness of a light source. The higher the lumen number, the brighter the light.
Bike lights usually range between 50 to 2000 lumens. How bright you need your light to be will depend on the visibility of the environment.
Here’s a chart showing how brought your bike light needs to be at different riding conditions:
| Speed | Lit Urben areas | Poorly lit areas | Pitch dark areas |
| 10-15 mph | 100 lumens | 400 lumens | 400 lumens |
| 15-20 mph | 100 lumens | 400 lumens | 800 lumens |
| 20-25 mph | 200 lumens | 800 lumens | 800 lumens |
| 25+ mph | 200 lumens | 800 lumens | 1600+ lumens |
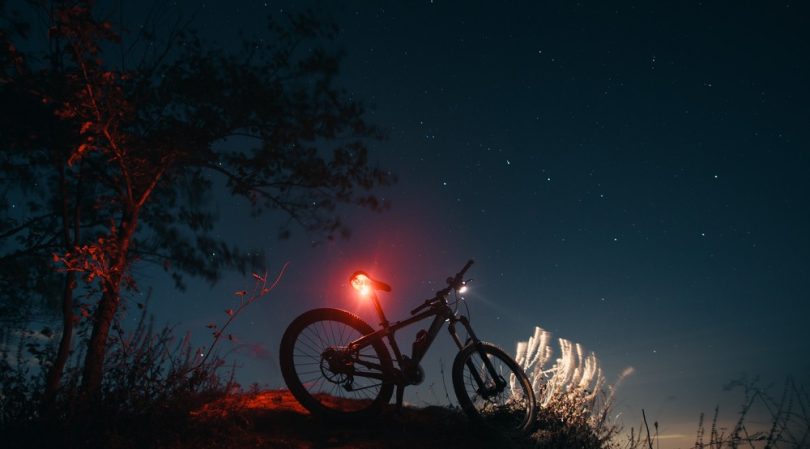
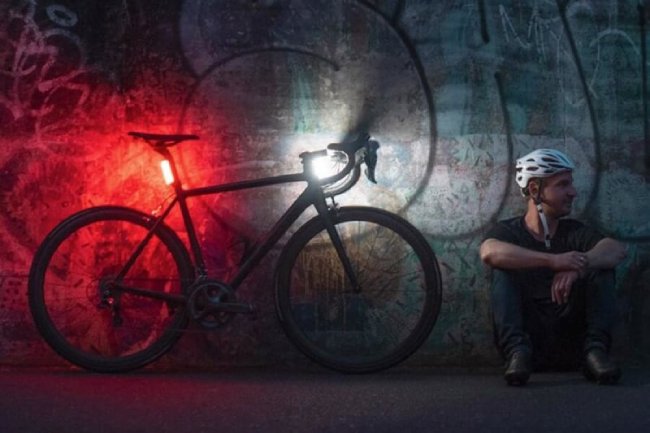
There are two main purposes of bike lights:
a) Light to see (White color)
b) Light to be seen (Red color)
Front Lights – Light to see
They are installed in the fork or handlebar of the bike. These lights can also be attached to the helmet of the rider. Their main job is to help you see the road ahead.
Lit Area
Road Cycling
If you are cycling in urban areas where the street lights are bright, 50 lumens will be more than enough.
On the flip side, if the area has dim lights or partially lit streets then the best choice will be 200 to 500 lumens.
Commuting
If you use your bike to commute in urban areas, where the roads are lit, 100 to 400 lumens brightness is going to be more than enough.
However, in case you commute through the countryside, we recommend that you go for at least 400 lumens of brightness.
Unlit Area
Road Cycling
Don’t buy anything less than 600 lumens for dark areas with no street lights. The best choice will be 800 lumens since they’ll provide you with more visibility for a safer ride.
Off-road Cycling
Do you like roaming around with your bike in a dense forest? Or, do you sometimes lose your way in the woods at night?
The darkness there can be unimaginably deep. A light with a minimum of 1000 can be your savior.
Single Tracks
Single tracks require around 1200 lumens though 6000 lumens are also available. Their purpose is to provide the feel of broad daylight in a trail.
Now the question is, Do you really need them?
Car headlights are generally 1200 lumens whereas landing lights of commercial jets provide around 5500 lumens! Now you decide!
Tips: Keep a helmet light with you beside the regular lights. They can come in handy in sticky situations.
That way, you’ll be able to see any additional hazards coming at you from any direction. This is necessary for more security for dark, narrow, and unpredictable roads.
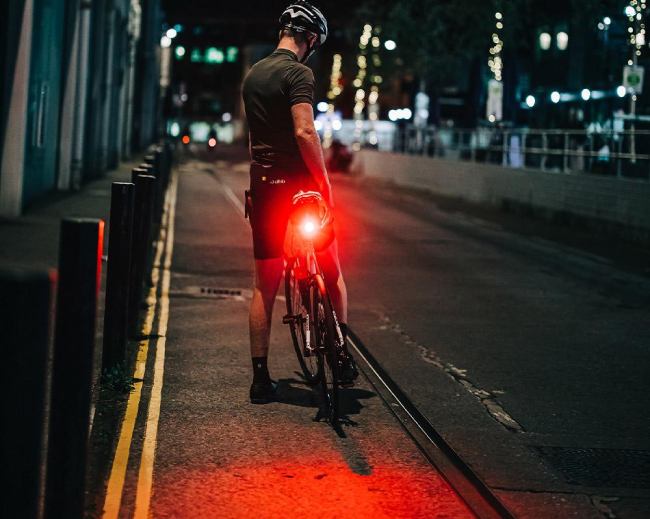
Rear Lights – Light to be seen
Red lights can be seen from over a large distance but they don’t need to be as powerful as headlights. Anything between 50 to 200 lumens will do the job.
Modern rear lights also come with a bunch of advanced features. For example, movement sensors can be installed to adjust the brightness. Once activated, the light will shine brighter and alert the vehicle in the back.
This is especially helpful in urban areas (usually well lit) because car drivers are used to seeing trail lights.
Another important thing is don’t forget the side visibility of your vehicle. It is equally important for dark areas. The more you make yourself visible in the dark, the better.
We recommend using a row of bright LED lights to increase your side visibility.
Different modes of bike lights
1) Flashing
- Saves battery
- Captures more attention in the road
- Lasts long
2) Constant
- Requires more power
- Helps to see better
- Needs frequent battery change
Where to Mount a Bike Light?
1) On the helmet
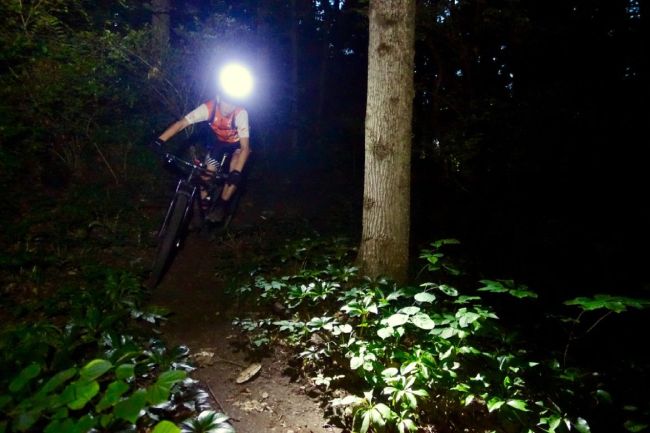
They are an integral part of safety for off-road and MTB riders. They provide more visibility and a safer ride in low-visibility or dark environments. They are a bit heavy and can cause discomfort if you use them on a long ride.
A word of caution, you need to be careful about the hanging tree branches in the wood. They may hit and damage your light, which can be dangerous.
2) On the bike
a) Bar mounting
Light to see
The handlebar of the bike is the most common place to install the front light.
However, using handlebar lights can be challenging when you carry a handle bag around. The bag may block the light and turn it useless.
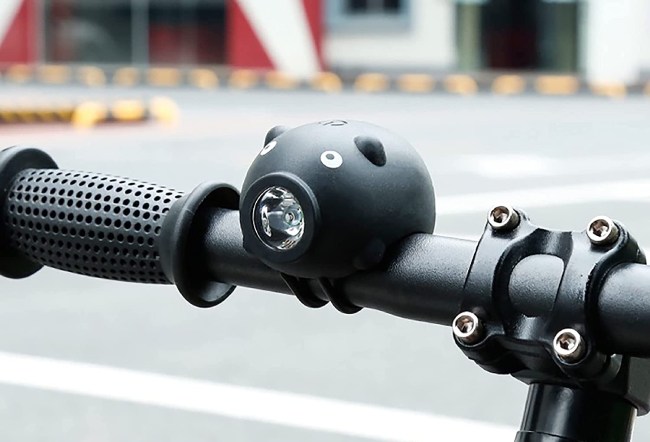
Light to be seen
You can also find small orb lights that will pop into your handlebar ends. They work as sidelights and increase your visibility in dark environments.
b) Fork Mounting
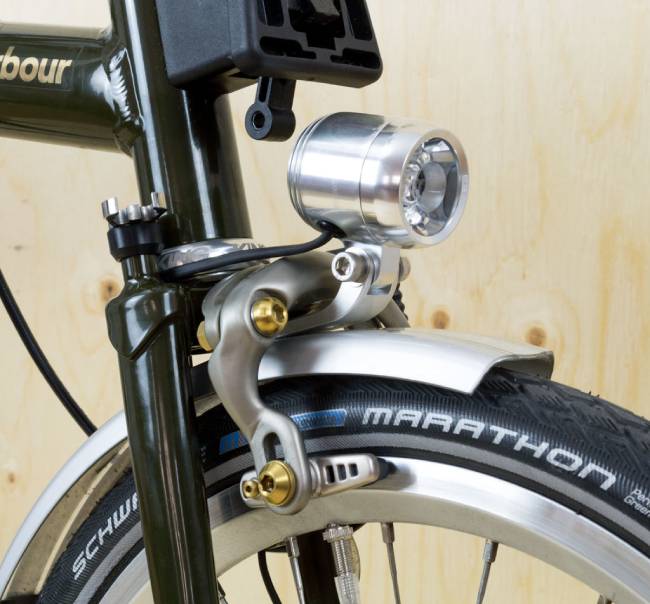
Last but not least, you can also mount your bike light in your fork mounting. They are especially useful if you use a dynamo. Nowadays, most manufacturers recommend this place to mount your bike light.
c) Tail light
Taillights are the main safeguard for a night rider. They increase your visibility and help other vehicles to locate you so that they don’t hit you accidentally.
Newer technologies and features for bike lights
Orb bike water bottle
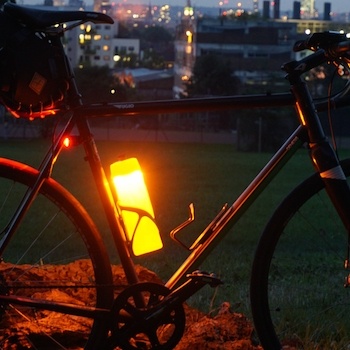
Imagine your water bottle is providing you the extra benefit of making you visible from afar. Yes, even your water bottle can be another light source.
Just look at their position on the bike! They can be seen from any angle and from very far, providing you with additional safety. The lights are really easy to use.
You will find a noticeable on/off switch, a USB charging port, and a rubber cover. The cover will allow you to use them in any weather. You’ll also be able to make the light dim or flash depending on your needs.
Wearable lights
Wearable lights can accentuate depending on the movement of your body, which is more secure than a constant light.
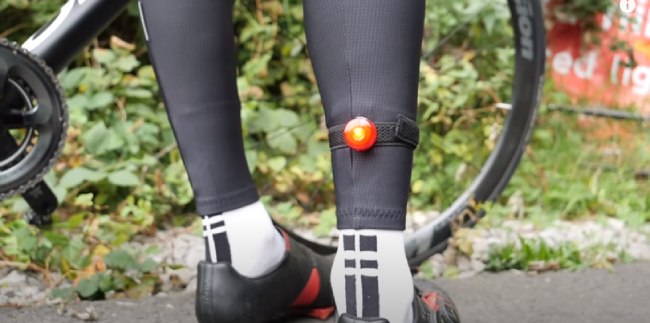
Feel free to wear one on your ankle while you ride. However, don’t take off the light from your seat post just because you have a wearable light. Don’t forget, one of the goals is to make you as much visible as possible.
Smart light
Some modern lights can communicate among themselves and turn the other on/off via Bluetooth. What’s more? You’ll be able to control their features with your smartphone.
These smart lights are already available today that can even customize flash patterns. They also have the ability to notify you when the battery is running low.
Power Sources of Light
Changeable battery and USB rechargeable battery
Changeable/disposable battery-powered lights will cost you less than the lights that run on rechargeable batteries.
However, rechargeable batteries will last longer, making them effective at the end of the day.
Dynamo front hub
Dynamos generate electricity from the movement of your front wheel and are used to power the lights.
Backup and safety lights
Safety comes first. Always keep backup batteries and safety lights with you in case of emergencies.
Don’t forget that accidents/emergencies don’t come announced and better be safe than sorry.
How to take care of your batteries?
1) Rechargeable batteries go down if you leave them idle for a long time. Take them out a few times and charge them. That will help them last longer.
2) Non-rechargeable batteries can leak and damage your equipment if you let them sit idle. Don’t forget to remove them once their job is done.
Things to remember when using bike lights
- Do not block your rear light with a Backpack.
- Angle of your light and beam pattern is important to avoid unpleasant circumstances. Tilt your front light and adjust your beam, making sure the lights don’t hit the eyes of the people coming toward you.
- Lights are useless if they do not fit well on your bike. There are hundreds of aerodynamic frame tubes and handlebars available. There is no way your light can fit in all of them and make sure you have the right light according to your bike’s structure.
- Always keep more than one power source to maximize safety. Keep spares in your pocket. That way, they’ll stay warm and you’ll find them quickly.
- Pick higher lumen lights in low visibility conditions like rain or fog. Don’t forget to mount the lights right-side up. Waterproof lights are the best option.
Get a light that is easy to put on and take off because bike accessories like lights are easy to steal. It’s better to detach the light and carry it with you when you leave your bike for a long time. Besides, rechargeable USB lights are more appropriate.
FAQs
Q. How many lumens do I need to cycle at night?
You need 50 to 200 lumen for the rear light and 400 to 2000 lumen for the front light.
Q. Can Bike Lights Be Too Bright?
Yes, but for other people riding or walking towards you. Too much bright light can make it hard for them to see if light is not in the correct angle or properly positioned.
You can attach the light in the left or right side handlebar. The light should cover a 10 to 20 meters area in front of your bike. Beam of the light should be targeted to the ground and angled in a way so that it can hit the curb.
Also remember to higher the angle of the light as you increase your speed to see the front side clearly.
Q. How far do 800 lumens shine?
800 lumens can shine up to 200 meters away. It is equivalent to 800 candle lights. This kind of brightness is enough to do any kind of outdoor work.
Q. Is 200 lumens bright enough for cycling?
Yes, 200 or more lumens is enough for riding at an average speed on an unlit road. But on rough roads it may be not sufficient where different obstacles come in the way frequently.


