
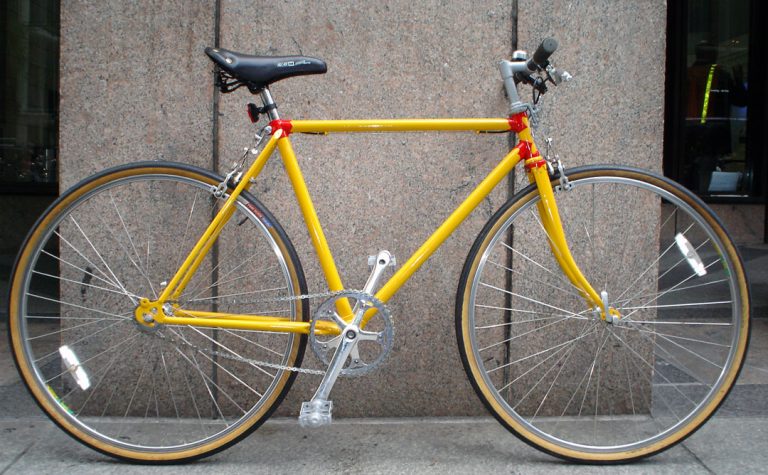
Single speed bikes have become very popular these days because they allow you to have more control on the road and make precise movements and tricks.
It’s like having a track bike, but without a complex multi-gear system to change the speed. Single speed bikes also help you strengthen your leg muscles. So, if you want to gain some extra resistance, this is the best option for you.
Building your own single speed bike can be a fascinating experience. In addition to saving money, you’ll learn a bit more about the basic principles behind bikes. So, if you have an old and rusty bike in your garage, it’s time to get down to work.
Today, we’ll show you how to build a single speed bike with very little money.
How to Build a Single Speed ??Bike?
1. The initial steps
 Certainly, the secret of a comfortable riding is on the frame. Single speed bikes usually have a shorter wheelbases, higher bottom brackets and 35-millimeter forks. Also, their rear dropouts are horizontal, allowing a wider adjustment of the chain tension.
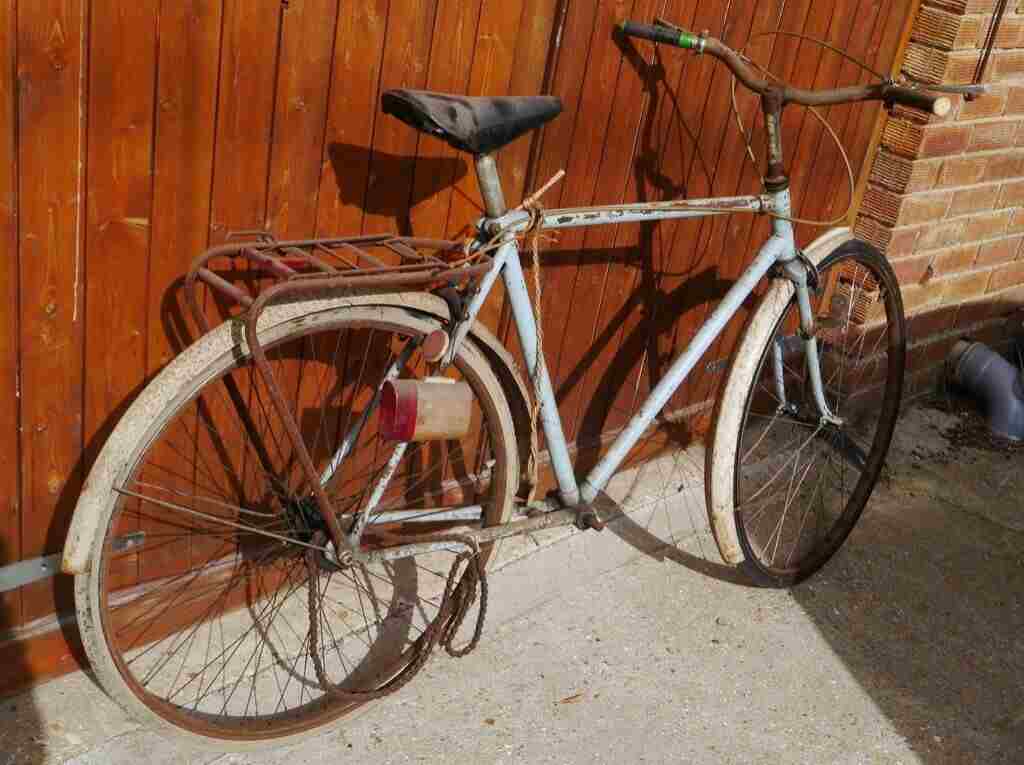
You could build your own custom frame or use the frame of an old track bicycle. You will also find many second hand bikes online for less than $50. Maybe, you’ll have to spend more money on materials to restore the frame. However, you’ll never spend the same money that you would invest in a brand-new bike.
2. Restore the frame
If you decide to buy an old and rusty second hand bike, you’ll need to restore the frame. For this purpose, you’ll need to buy some sand paper sheets, primer, lacquer and varnish. Below, you’ll find a detailed explanation of the steps you should follow during the restoration process.
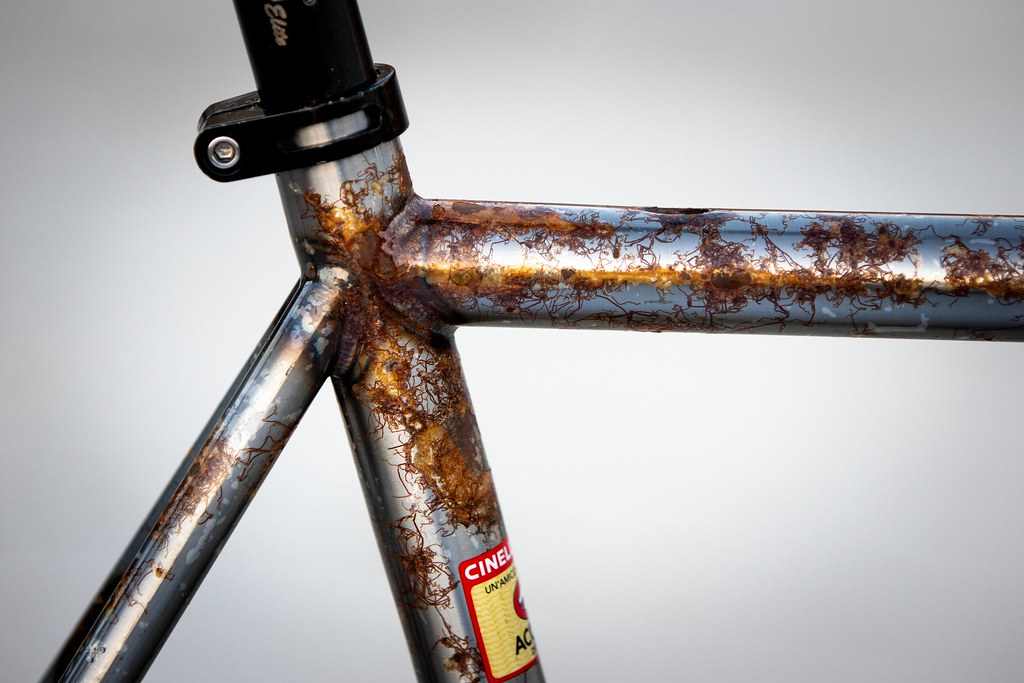
a. Sand the frame
Before applying the different coatings on the frame, it’s necessary to remove the old paint and rust residues from the surface. The three best ways to do this are as follows:
- Using sand paper
If you don’t have any special tools for sanding, doing it manually using sand paper sheets is the best option. On the sand paper scale, the higher the number, the smaller the diameter of the abrasive particles. For sanding a bike frame, it’s recommended to start using 60-80 grit sand paper to remove as much paint as possible.
It isn’t necessary to apply too much pressure because you may scratch the metal. Finally, use 220 grit sand paper to remove those little traces of paint and rust that escaped from the first sanding.
- Using a wire wheel and sand paper
If you have an electric drill, you can buy some wire wheel tips and use them to remove the paint and rust. This method is much more efficient than sanding by hand. When you’re done, use a piece of sand paper or a small wire brush over the small details.
- Using a sand blaster
Sandblasting is by far the best method for sanding a bike frame. It’s quick and provides uniform results. However, it’s also the most expensive method. So, if you don’t have your own sand blaster at home, you could end up spending much more than you invested to buy the bike.
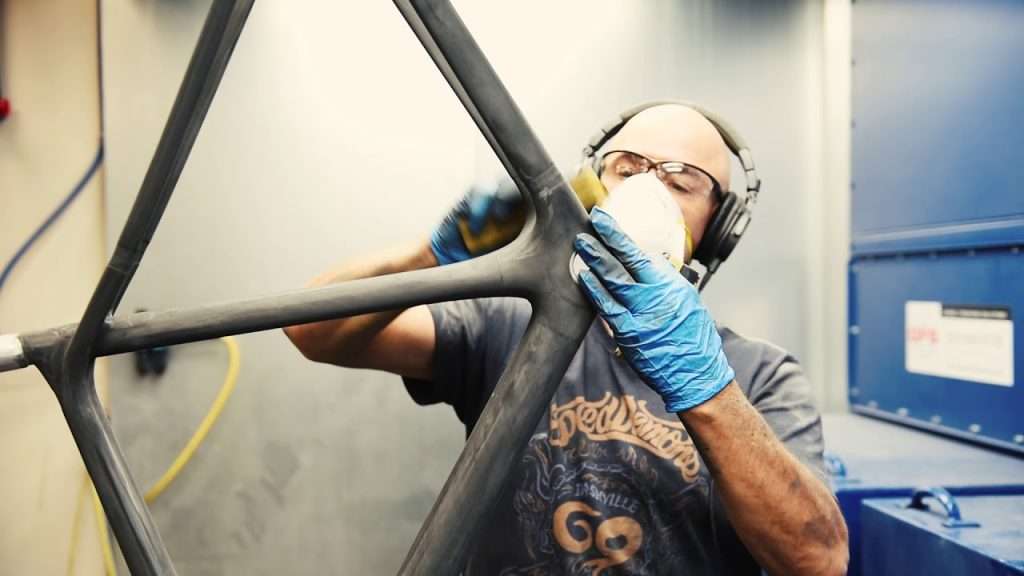
b. Apply primer
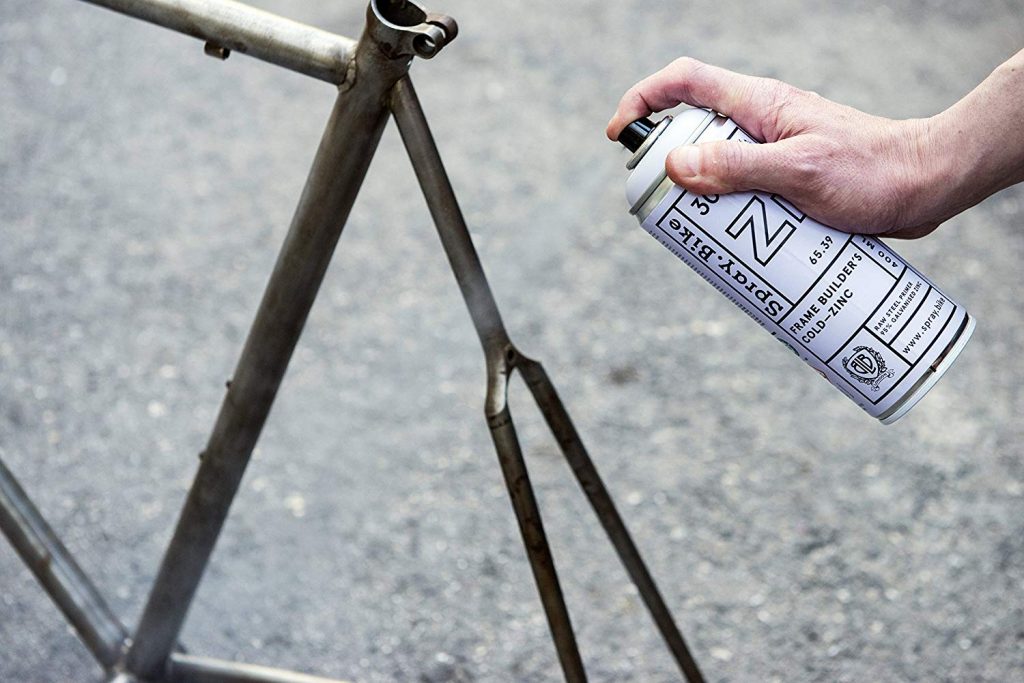
Once the frame is perfectly sanded, apply a thin layer of degreaser on the surface. You can find degreaser for metal surfaces in most hardware stores. To use it, apply a small dose on a dry cloth and then rub the frame. Be sure to use a cloth that leaves no residue on the surface. Wear rubber gloves while you’re doing this.
Then, spray the primer evenly over the frame. Locate the nose of the paint sprayer 20-30 cm away from the frame. Quickly move your arm from side to side for even application. Repeat this procedure until the surface is completely covered.
c. Apply lacquer
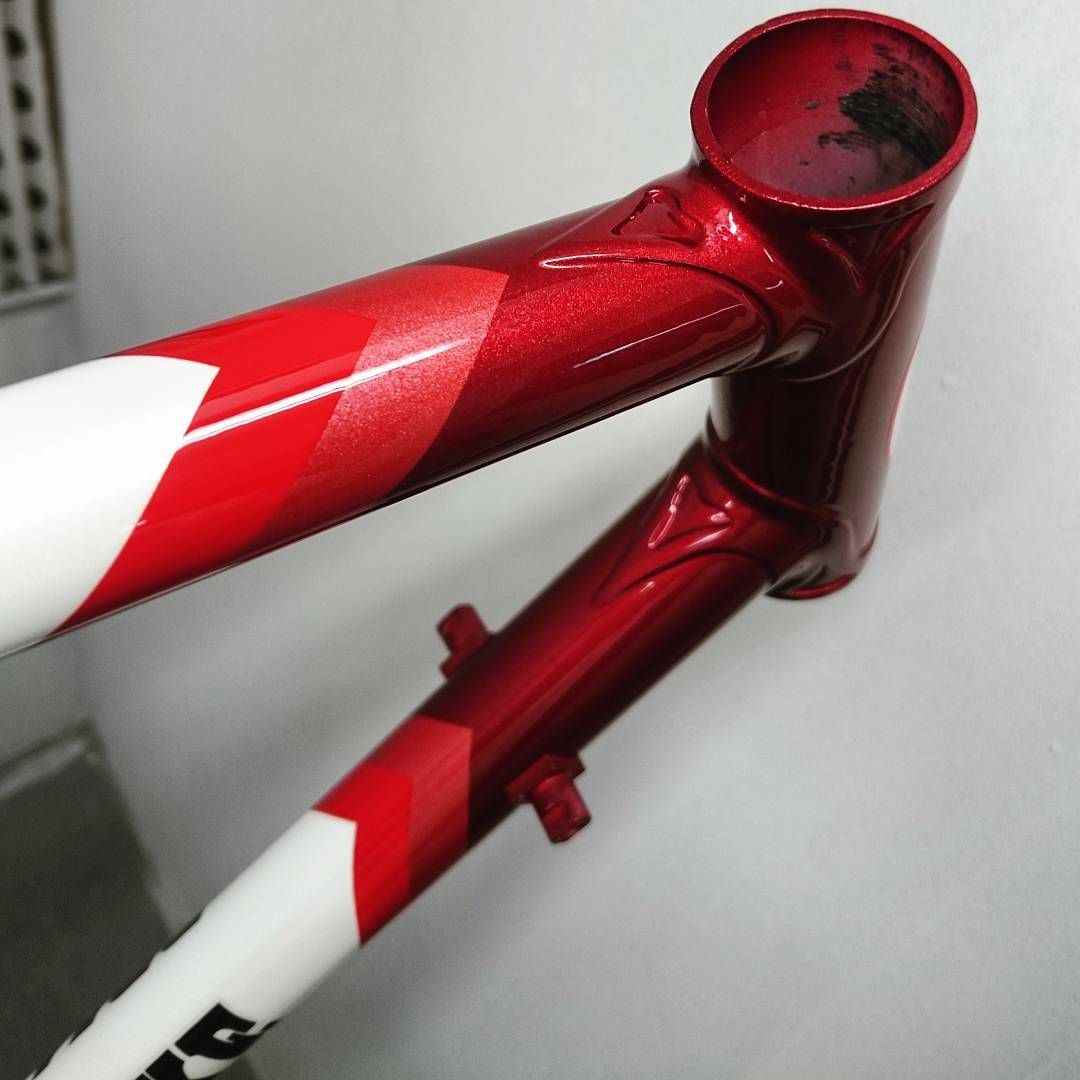
Once the first coating is completely dry, you can start applying the lacquer of your favorite color. You can also combine different colors on the frame if you wish. You can use spray gun or try other methods to get different results. Make sure to protect the work area with plastic cover to prevent stains on floors and walls.
d. Apply varnish
Finally, when the lacquer is dry, apply several layers of varnish car for a glossy finish. Varnish also protects the surface form rust and scratching.
3. Choose the pedals
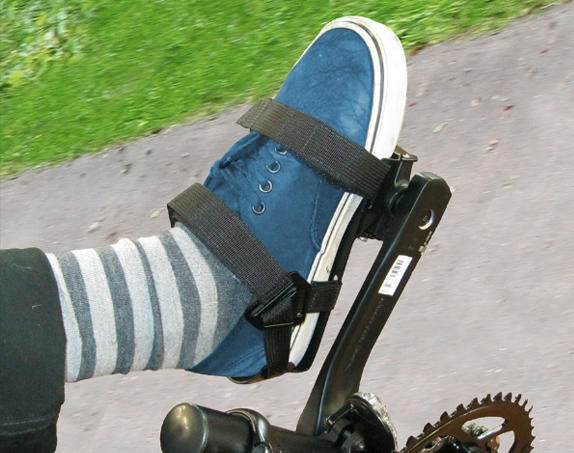
Platform pedals with clips and straps are the best for a single speed fixie bike. This setting keeps your feet stuck to the pedals, avoiding accidental slips. That way, you can focus on riding and not on keeping your feet on the pedals.
On the other hand, if you’re going to use your fixie for training purposes, it’s better that you use road pedals with the chain tensioned as high as possible.
4. Choose the wheels
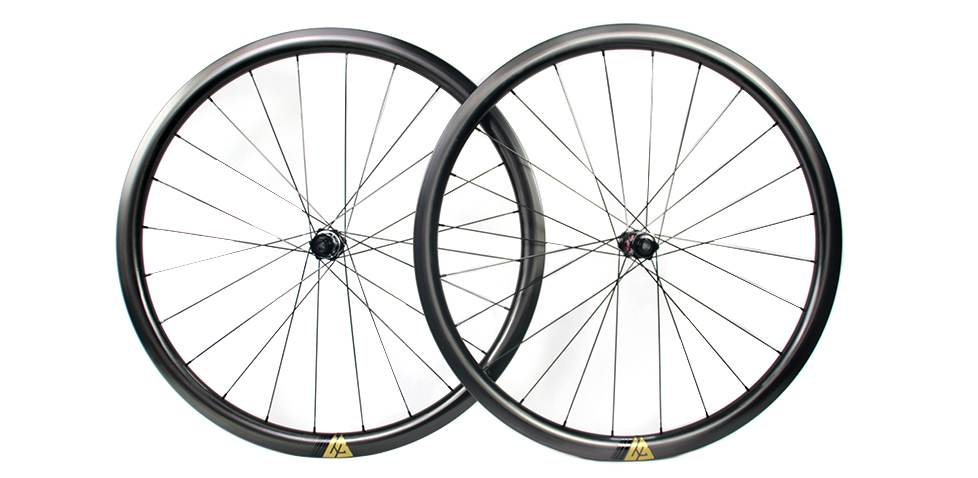
Track wheels are the best for a single speed bike. Also, you can use a flip-flop rear wheel to easily change between a fixie and a freewheel configuration. For a better alignment between the chain and the freewheel, you can also install spacers on the freehub.
5. Choose the stem and handlebar
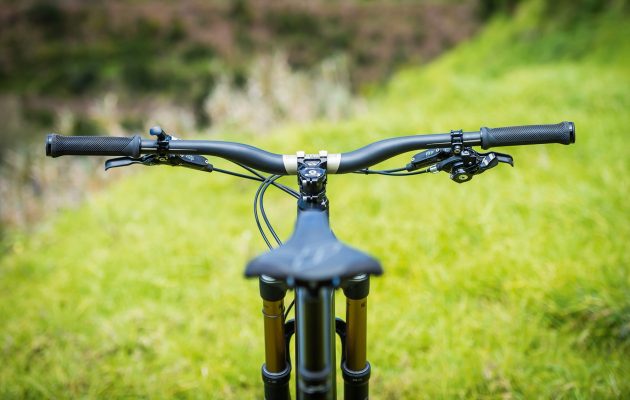
There’s no golden rule about stems and handlebars. So, you can choose the size and design most convenient for you. If you’re a lover of high speeds, it’s convenient that you choose a shorter stem with wide handlebars. This configuration also allows you to support part of your body weight on the front wheel, providing greater friction on inclined routes.
On the other hand, if you’re going to use your fixie for short trips, it’s convenient that you choose a higher stem. That way, your back adopts an upright position, allowing you to better enjoy the panorama.
6. Choose cranksets
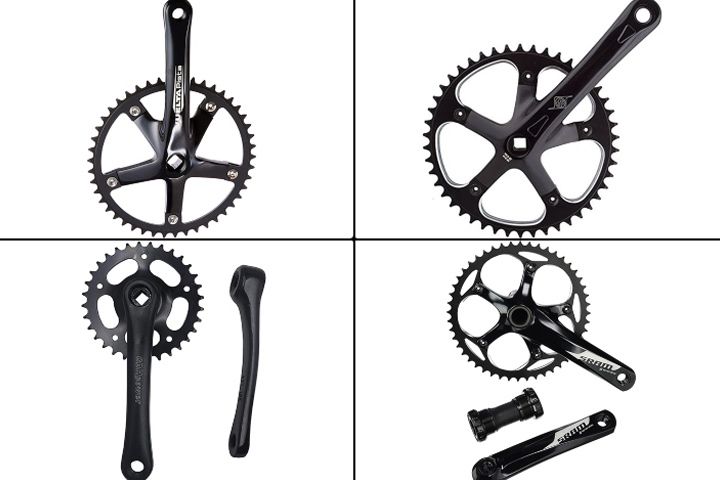
You can use a standard road crankset on a fixie. A 42-tooth chainring provides a good performance on all types of terrain. To reach higher speeds, you’ll need bigger gears.
Before buying any chainring, it’s important to check if it’s compatible with the bolt circle diameter of your crankset. Usually, the bolt circle diameter is 130 mm on road cranks and 140 mm on track cranks.
In addition, you can turn your fixie into an E-bike by installing a conversion kit.
7. Choose the brakes
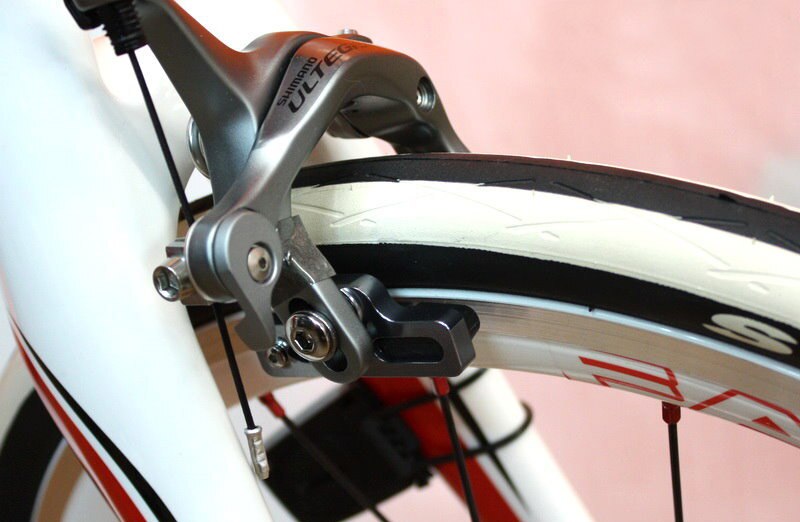
Many adrenaline lovers prefer riding their fixie bikes without brakes. On these cases, the rider depends on their experience to take advantage of terrain characteristics and own weight to slow down. However, this practice isn’t exactly the safest of all.
A no-brake configuration can work on uneven terrain, maybe for an outdoor adventure at low speeds. However, it isn’t the best option to use on the road. So, if a car or a person suddenly gets in your way, you won’t have a way to stop suddenly.
Caliper brakes are the best for fixies. You can also choose brake levers that don’t take up too much space in your handlebar.
8. Assemble your bike
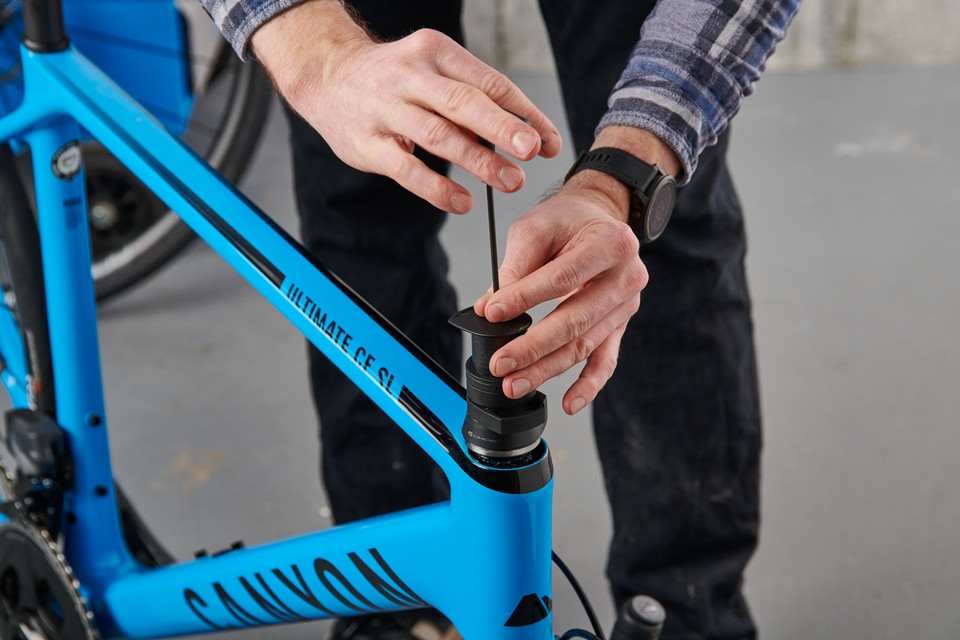
Once you get all the elements required to assemble your custom fixie, it’s time to get down to work. For this step, you won’t need too many tools. A set of hexagon wrenches or a torque wrench with its socket set is all you’ll need to get the job done.
Be careful not to overtighten the nuts so as not to damage the screws and other important bike parts.
9. Do some quality control
Finally, when you finish assembling your bike, it’s time to test it. Take a few laps around your neighborhood to test stability and comfort level. If the bike shakes too much, make the necessary adjustments.
Also, test the bike performance at high speed. So, ride to a flat and clear place to start accelerating without risk of accidents.
10. Consider the cost

Best commercial fixies can cost more than $500. It all depends on the brand and product features. However, with good planning and some luck, you can build up your own fixie for half that price.
Usually, the wheels and the frame are the most expensive elements. But, on the Internet you can find second hand bikes from which you can obtain these parts at a small fraction of the real price. Usually, the wheels cost more than $200. However, some bike shops sell them much cheaper if they have bent spokes.
Conclusion
As you can see, you don’t need too much money to build single speed bike. You just need a good strategy to save money. You can visit several shopping websites to buy second hand parts and even complete bikes. If you don’t want to spend too much money on restoration work, learn to do it yourself by consulting some Internet tutorials.
If you apply these valuable tips, you’ll certainly be able to build up your custom fixie for less money than you imagine.
FAQ
Q. 1: Can you convert a geared bike to single speed?
A. Yes. To do this, you just need to replace the crankset with a single gear or use a flip-flop wheel.
Q. 2: How does a single speed bike work?
A. Single speed bikes have a single gear on the rear wheel. This configuration doesn’t allow speed changes by mechanical methods. So, the rider depends entirely on their leg power to accelerate.
Q. 3: Can you convert a road bike into a fixie?
A. Yes. To turn a road bike into a fixie you need to change the existing wheels with track wheels and the rear crankset with a single gear.


