
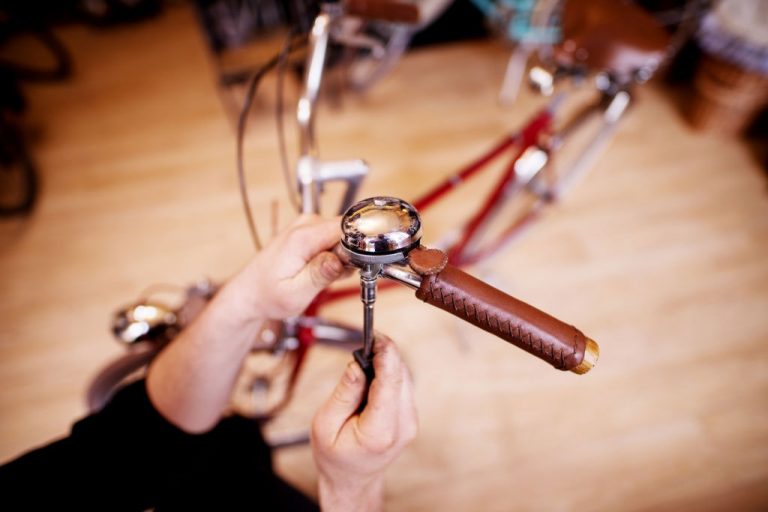
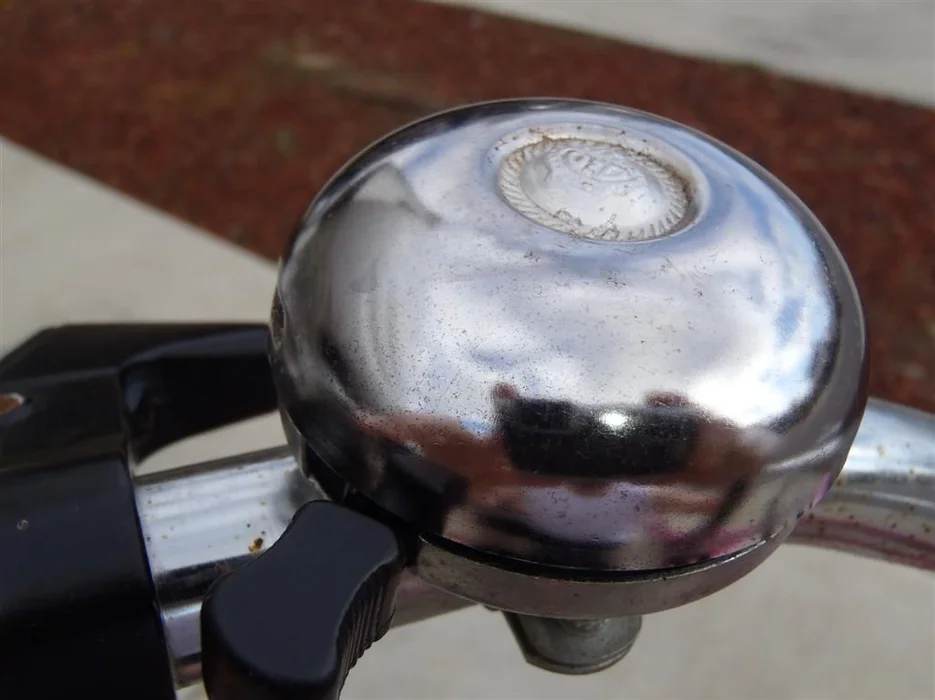
Tring, tring, ding ding, go ahead and sing sweet bell. Don’t fix it if it ain’t broke. That a bit foolish. Your bike chain keeps slipping off. Continuing with this appalling and trying thorn in the foot and not getting it fixed puts you in the league of blockheads. When your bike bell goes kaput, it is no doubt a minor hindrance but one that puts you and others in a spot of danger. It’s not about you bumping into someone but the other way around. Let’s figure out how to repair a bicycle bell.
How to Fix a Bike Bell?
1. Requisite Implements
- Obviously the damaged bell
- A strong rubber band
- A pair of pliers for dismantling the bell
2. Take Apart the Bell
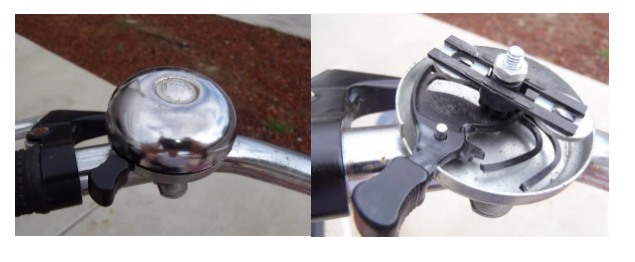
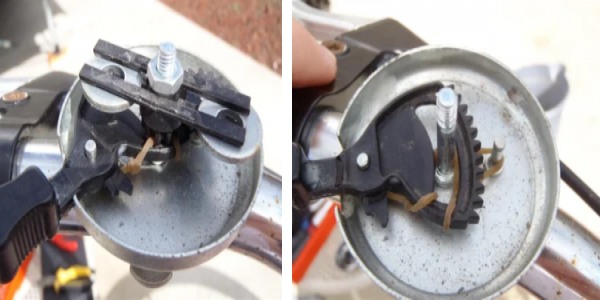
These bells are of the common variety and come crowned with a metal bowl. To open up the bell twist it anti-clockwise. Once opened, the inner workings are revealed and the offending broken part will come to light.
3. Inner Workings
The small nut can be dismantled once the top is unshipped. You will probably need to press the pliers into service here. A plastic appendage gripping two washers is located below this nut. On depressing the bell actuator, the washers are set into rapid revolution in the center of the bell. The “tring-tring” tone is the inner sides of the bell contacting the rapidly oscillating washers.
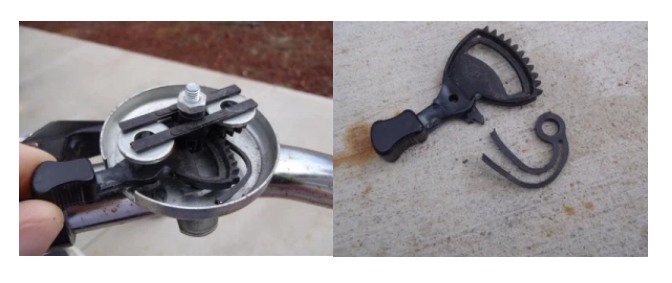
Here, stepping into play is a step-up gear. The actuator movement is transmitted to a gear with a few teeth moving it into motion manifold times. This gear, in turn, rotates the removed part holding the washers. Hence a slight articulation of the actuator triggers off a chain of motion with the washer piece.
The actuator should revert to its starting position automatically. This is attained by two plastic appendages fastened to the actuator and a tiny ring situated at the heart of the bell. Over repeated use, these plastic arms finally parted from the actuator putting paid to the spring action.
4. An On-The-Run Fix
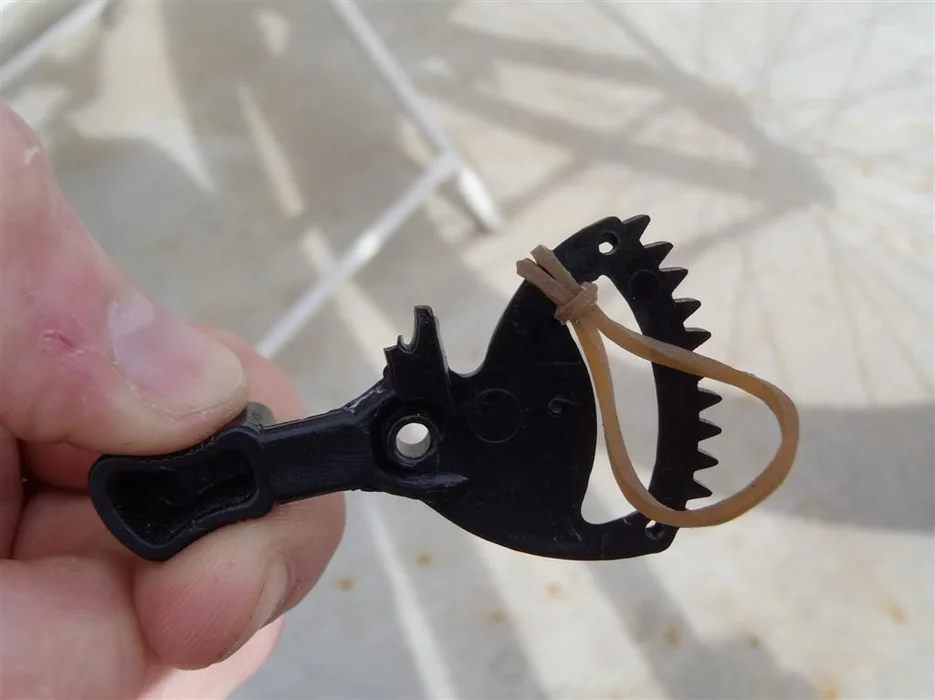
A plastic spring is not something that can be fixed reliably. Fortunately, the bell design is very elementary. We fall back here on rubber bands to circumvent the problem. The rubber knot as shown in the figure comes to our aid. As you can see, it’s elementary; one end is looped through the actuator slot and pulled through itself.
5. Crank-Up The Tension
The plastic arm that is broken and the small ring will be exempt from this fix. But do retain for future experimentations in bettering the fix with a better solution.
This part will need you to figure out what is the best configuration. Bells vary, so as a DIY pro, you need to adapt. The trick essentially boils down to how big a rubber band you are using. To work efficiently, the rubber band has to take up a lot of tension.
To achieve this, pass the band through around the gear pegs in the bells. For even greater tension, the looped part of the band may be turned around the center post as well. This is the basic premise, so with the band wound in place, reposition the actuator back on the pivot peg with the slot positioned over the center post. Test run a few times to ascertain the tension of the band is adequate in pulling the actuator back in place. A further looping of the rubberband may be required.
With all in place, carefully restore the gears back. First, on the right peg, the small toothed gear goes. The center peg takes the piece with the washers. Finally, screw down the holding nut.
6. Trial Spin
The bell top has to be screwed back on top or there will be no sound. This is after all the ringer. This is a jury fix because ultimately, the band will snap with use. You can redo the process but also maybe it’s time you thought of a replacement.
Eureka! You did it. So how to fix a bike bell is not exactly rocket science, but all types of bike bells can’t be fixed, you have to replace the old one with a new bell sometimes. One can always try these types of temporary repairs on auxiliaries without any great danger being posed if it were to fail. We don’t suggest such makeshift repairs on sensitive parts like the drivetrain, etc. where failure can spell doom.


