

Certainly, pointy objects on the road are the worst enemies of tube tires. A slight contact is enough to cause a pinch flat. Fortunately, you can solve this problem by gluing a patch on the inner tube. However, when punctures are too many, it’s better to replace your old tube.
Replacing bike tubes may seem the easiest thing to do. However, without the proper tools and instructions, it may be more difficult than expected. If you don’t have previous experience and need some help, this is your lucky day.
Today, we’ll show you how to replace a bike inner tube like a pro. Here, you’ll also find a detailed list with all the tools and materials you’ll need to get the job done.
How To Replace a Bike Inner Tube – Step By Step Guide
1. Tools and materials
Before getting started, make sure to have the necessary tools and materials at hand. Here’s what you’ll need:
- Air pump
- Replacement inner tube
- Wrench
- Screwdriver
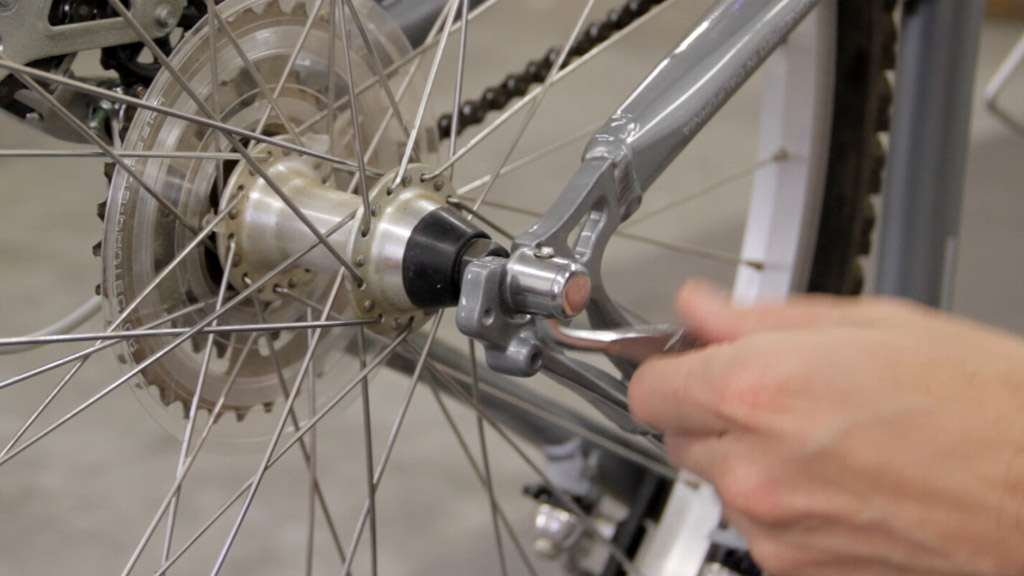
2. Uninstall the wheel

Turn the bike upside down, supported on the handlebars and seat. Then loosen the bolts that hold the wheel in place using a wrench. If you’re going to remove the rear wheel, make sure to first remove the chain.
Once the chain and the retaining bolts are removed, pull off the wheel from the frame.
3. Uninstall the inner tube
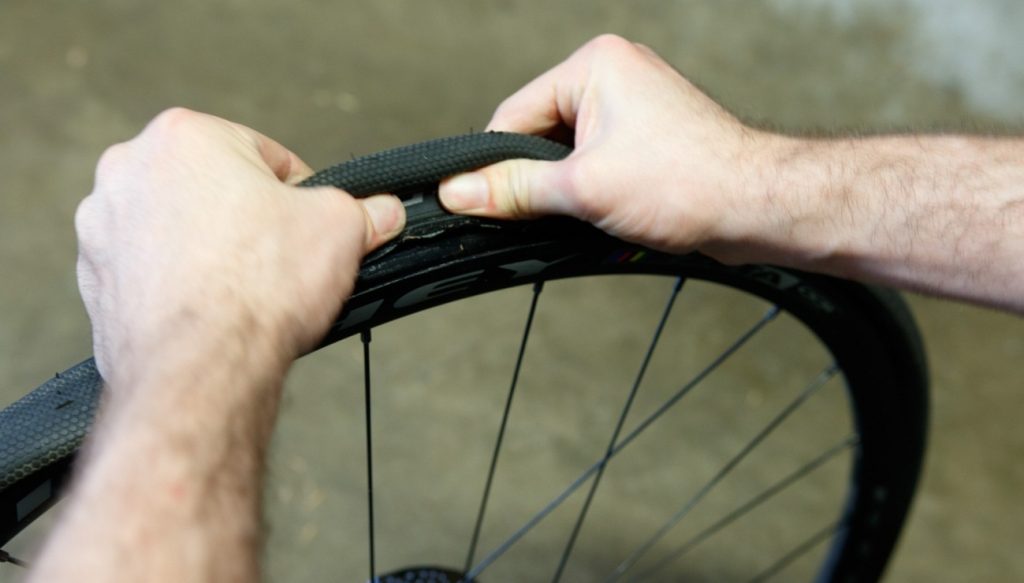
First of all, remove the cap from the valve so the air can escape. Then, insert the tip of a flat screwdriver in between the rim and the tire. Then slide the screwdriver all around the tire to separate it from the rim. Finally, remove the inner tube.
4. Install the new inner tube
Before getting started, make sure the new tube is free of punctures or any other defect. Also make sure it has the correct size so it perfectly fits the rim. If everything is fine, proceed with the next step.
After that, place the new tube around the rim. Make sure the valve protrudes the hole in the rim. Once the half of the tube is in place, inflate it a little. Then, push the rest of the tube so it fits around the rim.
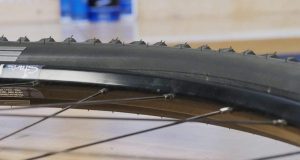
Using a flat screwdriver, pry the borders of the tire so they enter inside the rim. While the screwdriver slides around the tire, make sure the inserted borders don’t pop out.
5. Inflate the new inner tube

Once all the borders of the tube are correctly inserted into the rim, inflate the tube to the right air pressure. For this purpose, you can use and air compressor or a manual pump. Below, you’ll find a list with the recommended air pressure ranges depending on the type of tire you have.
- Road tires: 80-130 PSI
- Mountain tires: 25-30 PSI
- Hybrid tires: 40-70 PSI
6. Reinstall the wheel
Before getting started, make sure the bike is turned upside down and properly supported on its seat and handlebars. Then, insert the rotating shaft of the wheel between the front or rear dropouts.
If you’re installing a rear wheel, make sure the chain fits the smallest cog of the cassette. Also, pull back the derailleur so it doesn’t bother you while setting the wheel in place.
After that, tighten the retaining bolts while you hold the quick release lever in place. Then, close the lever, making sure it doesn’t touch the frame.
Finally, reinstall the brakes and rotate the pedals to verify that everything is working fine.
Troubleshooting tips
- If after installation the wheel keeps losing air pressure, maybe the new inner tube is defective. So, you’ll have to remove it to take a closer look on its surface. Also, make sure there are no protrusions on the rim that may puncture the inner tube.
- In order to get more experience, repeat this procedure several times until you can easily remember each step without reading the instructions.
- In case you get a flat tire in a high traffic area, move fast to a safe zone to prevent an accident.
Conclusion
As you can see, you don’t need to be an expert to learn how to replace a bike inner tube. However, if you carefully follow the tips on this guide, the replacement process will be much easier. Before getting started, make sure to have all the required tools and materials at hand to prevent delays.
FAQs
1. Is it possible to remove a bike tire without tools?
Ans. Yes. To do it, you’ll first have to deflate the inner tube to easily remove it from the rim using your bare hands. Then, place the first half of the new tube on the rim and inflate it just a little. Then, push the rest of the inner tube to put in place. Finally, pry the borders of the tire using a key.
2. Is it possible to remove a bike tube without taking the wheel off?
Ans. No. You can expose the inner tube to fix punctures, but you can’t remove it without taking the wheel off.


