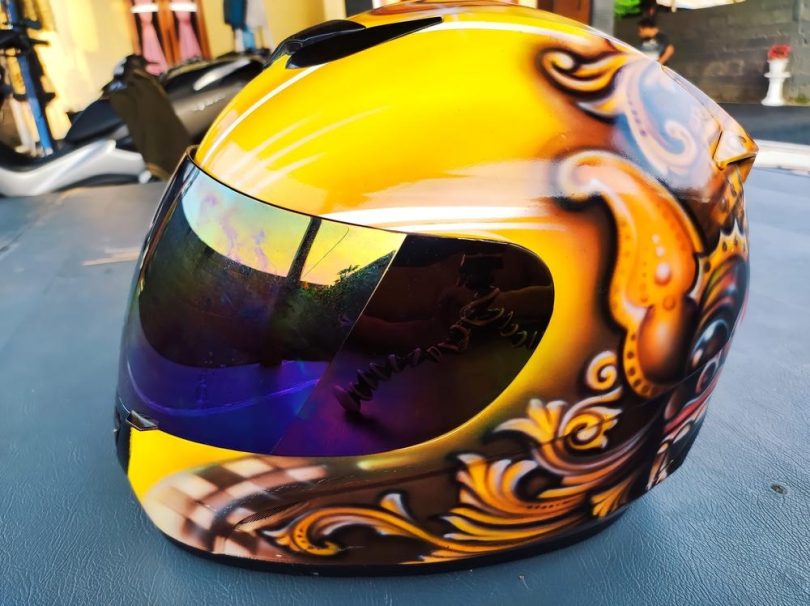
Painting your bike helmet isn’t that difficult but the preparation phase is tricky since you need to consider a few things like picking the right paint for your helmet.
Here’s a quick guide on how to go about the process safely for lasting results and give your helmet a new look that matches your style sense!
Before you paint: Make sure the paint and the helmet is compatible
You have to check the brand and model number of your helmet. The brand can be found on the packaging it came in or printed on the helmet itself. The model number is generally printed on a sticker located in the internal part of the helmet.
Check with the manufacturer to ensure that the paint you have chosen is compatible with the material the helmet is made of. Sometimes the tag with the model number lists what solvents aren’t safe to use.
If you are using spraying paints, then you have to be careful about overspray since it may make contact with the foam inside along with the shell. Nearly every foam used in bike helmets can be harmed by petroleum-based solvents commonly found in paints.
Even if you can find a paint that’s compatible with the material of the shell, be careful that the spray doesn’t contact the foam at some point. Make sure your preferred paint choice is compatible with the shell and the foam.
How to Paint a Bike Helmet?
Step 1: Gather the necessary tools
- Sanding pad
- Rag and cloth
- Masking tape
- Newspaper
- Paint
Step 2: Sand the helmet
Start by taking away the small pads inside the helmet. These will only get in the way or get filthy and you should not put them back until you are done. Sand your helmet before painting and make sure the sanding pad gets all over, including every corner, edge, and venting.
Note: Don’t try to sand the painted surface of the helmet. If you attempt to sand the existing paint off your helmet, you might unintentionally sand into the external plastic or fiberglass shell. This will weaken the external shell and reduce its effectiveness in shielding the internal layer from regular bumps and scrapes. This may also reduce the helmet’s capability to shield your head in an accident.
If you go with this option, make sure that you buy a plain white or black matte helmet to avert the hassle of removing any painted design or glossy finish. After sanding the helmet, clean the headgear and remove the dirt and grease.
Step 3: Clean the helmet
Fill a small container with hot water and household detergent. Then, soak a rag in the mix and completely wipe down the external surface of your helmet. After cleaning your helmet, dry it off with a clean, lint-free cloth and allow it to sit for around an hour to dry completely.
Step 4: Cover the parts you will not paint
Cover everything you will not paint with masking tape. Don’t forget to tape the inner part of the helmet to keep the spray paint from getting into the inner part and hitting the strap.
Make sure that only the area you want to paint is open. Don’t remove the inner shell, vents, or any other parts.
Step 5: Start painting from the lightest layer
By this time, everything will be ready to get started with. Choose a well-ventilated place and put some newspapers on the helmet.
Spray a light layer of paint that sticks to plastic and allow it to sit for 20 to 30 minutes or until it starts feeling dry to the touch.
Then spray another layer and let it dry for a minimum of 4 to 5 hours. Don’t paint any safety stickers.
Step 6: Get more masking tape on
Now, put masking tape over those areas that you have just sprayed and want to keep the color on.
Step 7: Paint on the next layer
Now, spray the paint on the second layer the same way as the first.
You can do as many layers as you want, spraying gradually darker paints and putting masking tapes as required. More layers mean much more drying time, and it may need a few days to see the desired results.
After you spray the last layer, allow the helmet to dry for a minimum of 24 hours before touching it.
Step 8: Use a clear coat
Remove the masking tapes after the paint dries completely. Apply 3-4 clear coats to protect the paint. Shake the can for around 1-2 minutes before using it on your helmet so the solvent and the coat are mixed well.
After that, move the can from one side to another and lightly coat the whole surface. Allow the coat to dry for around 15 to 20 minutes, then repeat the procedure 2 to 3 times.
Things to consider when you paint a bike helmet
Use plastic primer
You are required to use plastic primer on your helmet after painting since this will help the top layer of the paint to adhere to the color well and last longer.
Start spraying by keeping your hand 10 to 15 centimeters away from the surface in wide, sweeping movements. Don’t forget to start and finish off the edge you are spraying. Let the primer dry for 24 hours completely before you apply the topcoat.
Apply a thick clear coat
You have to apply a good thick clear coat on your helmet after painting as it will protect the paint beneath from scratches and even fading from the heat of the sun. We recommend that you use a 2-part epoxy clear coat.
Type of paint
A water-based acrylic paint is your best option for painting every type of bike helmet. These types of paints are better because they do not use solvents that can damage helmet shells.
However, you have to ask the manufacturer what type of paint you can put on your helmet. If you’ve selected a water-based acrylic paint, make sure that you apply several layers for lasting results.
FAQs
Q. Is painting a helmet legal?
Painting over the safety standard sticker issued by the local government is illegal e.g. DOT stickers in the USA, ECE stickers in Europe, or the local helmet standards in your country. Also in some countries, you can’t paint over the mandatory reflecting stickers on your helmet.
Q. Can I repaint a helmet?
Nearly every helmet manufacturer recommends that you don’t repaint their helmets because the new paint can damage the resin in the molded plastic or composite shell, making it less efficient as a result.
Q. Does Paint weaken the Helmet?
It depends on the type of paint you use. Bike helmets are usually made of Expanded PolyStyrene (EPS) foam. This foam is protected by an outer shell composed of a polycarbonate shell. The solvents of the wrong kind of paints can damage the polycarbonate shell over time and make cracks in the helmet. As a result, the strength of the helmet can be reduced.
Q. Are stickers and other decorations on helmets Safe?
Actually, there are some that are not safe. Contact your manufacturer to see if your chosen sticker is compatible with their helmet.
You will also find stickers and decorations specially made for bike helmets. They are properly designed so, will not damage the shell of your helmet. Try choosing from them to be on the safe side.
Q. What kind of paint should be used on a helmet?
Wrong paints can damage the helmet shell. Use water-based acrylic paints to paint your helmet. They won’t do any harm to your helmet. Paint in layers and wait for each layer to dry before applying another layer on top of the previous layer. It helps the paint not to be peeled off.
Q. How much does a painted bike helmet cost?
It depends on the painting style and coating. Solid colors and clear coated painted helmets cost less while a fancy design can be expensive. Normally, painted helmets price start from $375.


