
Do you enjoy taking your bike on road trips across the country? With bike racks, you can easily transport your bicycle anywhere. But you need to mount your bike first on the bike rack.
Problems with mounting the bike on the car are common. Questions such as “Is it going to fall off?” are often heard.
Don’t worry, we’re here to teach you how to safely and securely mount your bike on a rack.
How To Put a Bike on a Bike Rack?
Step 1: Open up the rack
Start by opening the bike rack. An arc shape will result but this depends on the model.
When you place a bike on an SUV’s bike rack, you will see one side goes on the back window, and the other attaches against the trunk.
The bike rack is typically mounted behind the trunk and above the car for coupes and sedans.
It’s normal to encounter issues when attaching a bike rack.
The most common is determining the direction of the rack. You just have to position the bicycle clamps upward, in this case, to keep it secure.
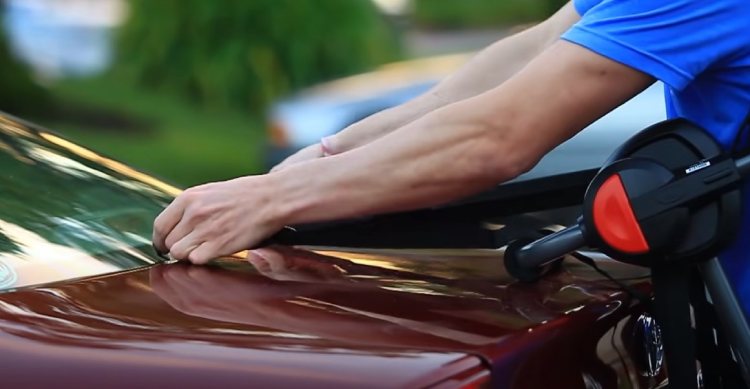
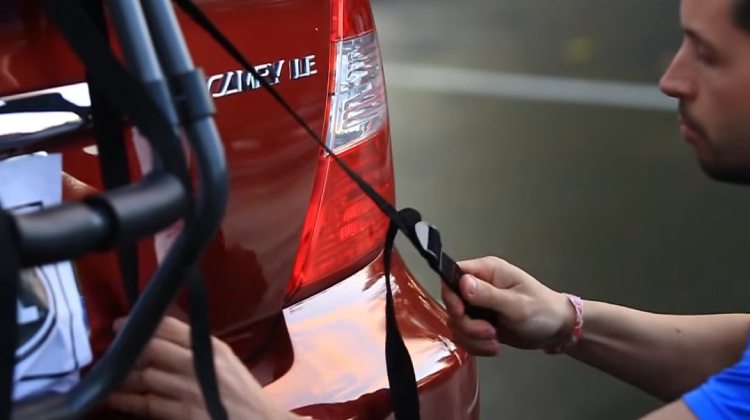
Step 2: Strap the rack to your car
Next, hook the part of your bike trunk that actually separates from your vehicle. You don’t want to damage your bicycle or bike rack by pushing or forcing the clips in. Look for a place where you can easily attach the bike clip.
Every clip will have instructions on where to place it. You can see words such as “side,” “bottom,” and “top.”. It is important not to lose any of the hooks or clips.
Step 3: Use padding to protect the fragile parts
In case of a rough ride, you may want to consider adding some padding to your bike. Keep metal parts of the bike from contacting sensitive areas.
If you want to avoid scratching off the paint on your bicycle, you can put a clean cloth between the bicycle and the bicycle support.
Between the tube and tusk, carefully install a foam stretch. Consider adding a rack tuck via the back wheel to reduce any damage to the frame. Make sure you don’t block the exhaust.
Step 4: Use excess straps to fasten the bike to the rack
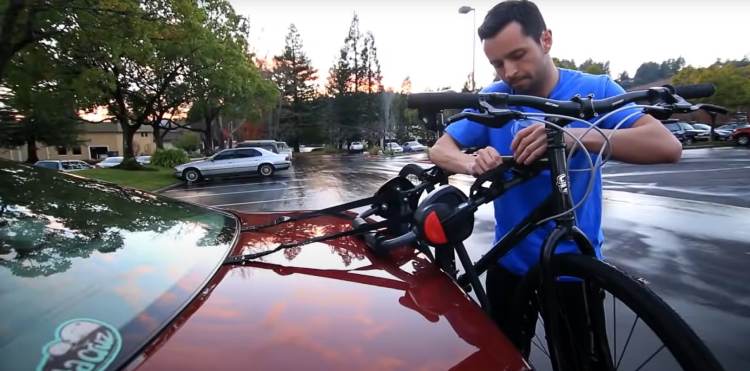
You can secure your bike on the rack with additional straps. Just mount the tube on top of the rack.
As long as it does not scratch the paint on your bike rack or bike, you can always use a toe band if you don’t have any extras.
After that, anchor the bike’s lower half to the rack. This will reduce bouncing and swinging during the trip. Strap the bar in the top cylinder so it’s positioned sideways.
To protect leather saddles, you can use a saddle cover or a taped bag.
Make sure that the wheels are immobilized on both the front and back so that they won’t spin around and cause distractions when looking in your mirror.
Step 5: Securing the lower straps of the rack
I suggest jolting the rack in various directions after you have tightened the straps. Shake the rack on all sides after you have tightened the straps.
If the bike rack moves along with the side of the car, it is securely attached.
The bike rack won’t move on your car’s rear if you take turns, accelerate, or brake. In this case, each strap should be re-evaluated and checked for firmly fastening.
Bike-carrying Options
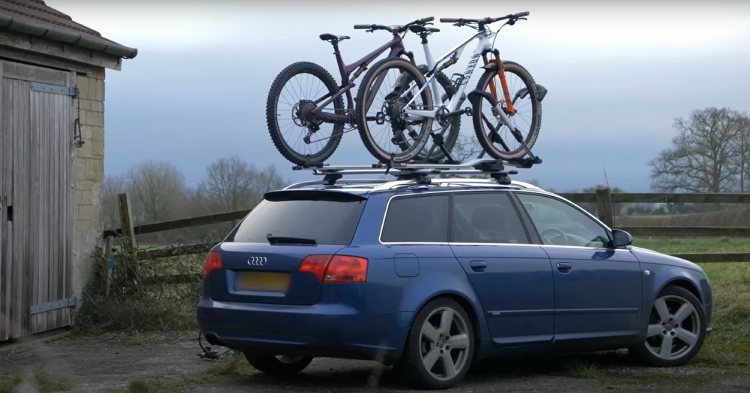
Roof-mounted racks
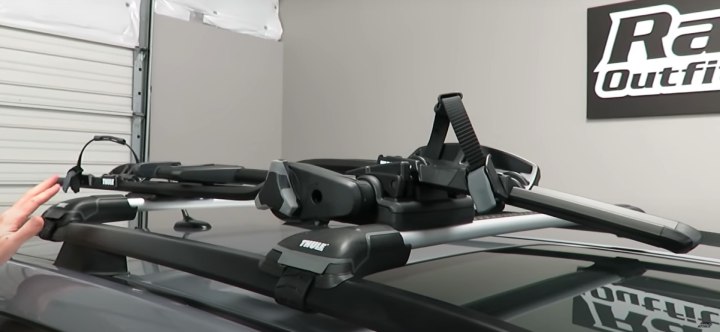
Roof racks are mounted to the roof of your car and secure your bike for the drive. The cost for these range from $200 to $500 and even higher for multiple cradles and extra features.
Most cars will come from the manufacturer with mounting points, rails and crossbars
Pros:
- Keeps bikes secure
- Doesn’t take up extra room
- Comes with extras like a cover for extreme weather conditions
- Number of mounting systems
- Bikes do not sway easily
Cons:
- Reaching and lifting is required
- Hard for those with taller vehicles
- Racks are hard to remove
- Wind noise is heard while driving
- Small effect on the gas mileage
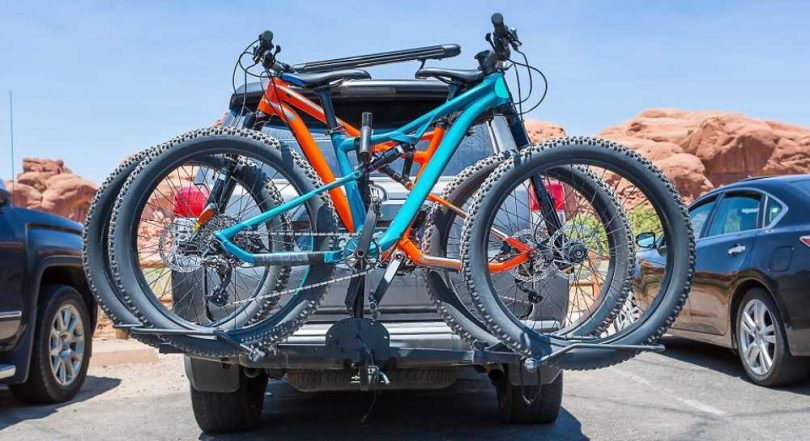
Hitch mountable racks
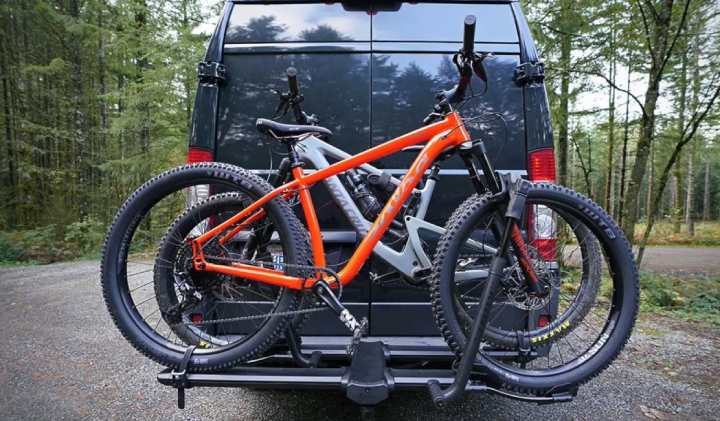
A hitch rack is more expensive ($150 to over $500) than trunk-mounted racks. They are most suitable for those who travel with their bikes frequently.
This is especially important for people who need to haul more than three bicycles. Typically, hitch racks can accommodate two to five bikes.
platforms or hanging cradles are the two most common types of racks, which each have their pros and cons.
Pros:
- Simple to install
- Very sturdy
- Easy to remove
- Most come with locks, so you get extra security
Cons:
- Some models can block entry to doors and trunks
- The types that mount up to five bikes are very heavy
- Extra sway can be felt when the rack is fully loaded
Trunk mounted racks

Trunk-mounted racks are the cheapest bike racks ($50-$200), they’re attached to the back of the trunk by straps.
The bike is securely held in place by arms and cradles.
Pros:
- Perfect for recreational riders
- Can go on multiple vehicles
- Light in weight
- Very portable
- Simple to remove
- Easy to store when no needed
Cons:
- Limited load capacity
- Interferes with access to the trunk when mounted
- The effectiveness relies on the straps to be tight
- Designs make it hard to lock bikes.
Spare tire mount racks
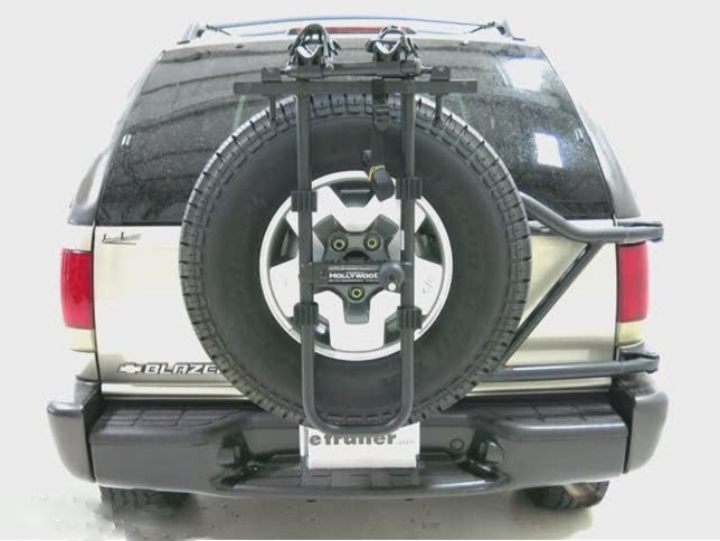
Like a trunk mount, this type of rack is inexpensive at $50 to $200 and is easy to use.
It is a suitable choice for off-road and sport utility vehicles and can also work with a spare wheel that is mounted on the back of the car.
These racks most often screw into the tire mount or rest on top of it.
Pros:
- Easy and quick to install
- Not permanently connected
- Affordable
Cons:
- Maximum of only two bikes
- Tire protective covers need to get removed
- A spare tire rack that’s loaded add more length to the car, making backing up in tight spaces harder
The Right Way To Steady a Bicycle on a Rack
Tools required
- Bike rack
- A bike
- Hook and loop straps
- Padding for protection
Step 1:
Connect the bike bumpers on the rack’s uprights, facing the bikes. Attach the bike to the rack.
Step 2:
To attach the pedal to the bike rack, wrap a SoftWrap around the mast, then thread it through the pedal.
Step 3:
Make sure the strap is through the pedal tightly. It lets you attach the pedal and then
the crank arm to the bicycle rack so the bicycle doesn’t come into contact with it.
This will stop any swaying or back and forth movement when traveling at high speeds in smaller cars, with the chance of big wind profiles happening at the rear of the car.
FAQs
Q. Can you put a bike rack on any bike?
Ans: Yes, you can make a touring bike out of a road bike by mounting a rack to it. No matter if your bike has eyelets to attach racks or not, you can easily attach panniers on a road bike.
Q. Is it normal for a bike rack to wobble?
Ans: No, bike racks shouldn’t sway and wobble. But if your one does, use products that can help to reduce/stop wobbling. You will also find bike racks that are purpose-built to minimize wobble and sway.
Q. How do you secure the front wheel of a car bike rack?
Ans: You can stabilize the bike crank to the bike rack’s upright and the front wheel to the down tube by using a loop strap and hook. Use this method to stabilize the front wheel and handlebar. It’ll help you to stop movement during transportation.


