

The development of disc brakes began in the 1890s in England. The first disc brake was patented by Frederick William Lanchester, albeit it was for automobiles. The question is what you should go for; rim brakes, drum brakes or disc brakes. The first hydraulic mountain bike disc brake came in 1987 from Formula in Prato, Tuscany in Italy. It has rapidly evolved into the highly efficient disc brakes in use today in the cycling industry. A brake rotor is a safety item. Never be tempted to continue after it has reached its minimum tolerance. It could fail with your goose well and truly cooked. In this guide, we will glean insight into rotors as well as how to change a rotor.
Why Should You Replace Your Rotor
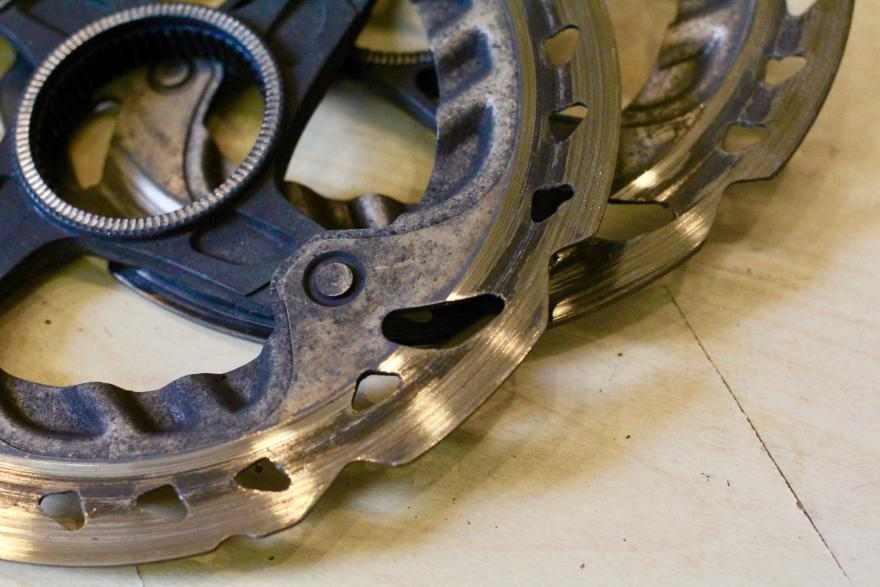
Rotors of disc brake are long lasting. The rims are saved from any wear down when using disc brakes but the rotor gradually is sacrificed to wear. In fact, their longevity is pretty long that folks often take them to be ‘fit and forget’ components. Manufacturers, however, provide a minimum thickness which is embossed on the rotor as can be seen in the figure. Shimano, whose rotors start out at 1.8mm thickness, recommends replacement when the brake contact surface reaches 1.5mm.
Different brands have their own specific recommendations so scrutinize the facts for the rotor on your bike. If your rotor has been reduced to a ham slicer, it is an indication that replacement has been neglected far too long and changing brake rotors is imminent.

Another indication that the rotor needs to be replaced is if you observe a stepping between the surface that is in contact with the brake and the remaining rotor section.
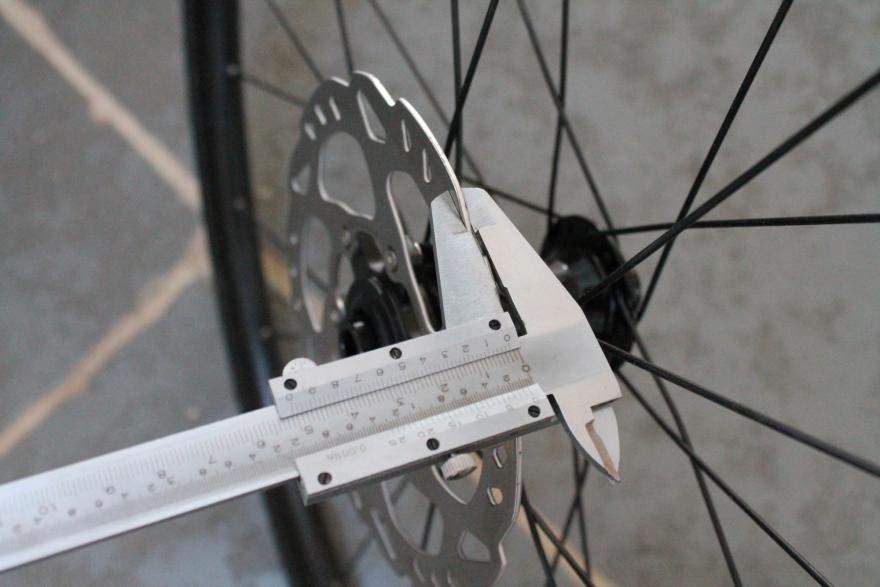
The correct procedure would be to measure the thickness with a Vernier caliper or a caliper that is digital.
It is impractical to quote a certain mileage when the rotor change is to be renewed because a rotor wears down is dependant on the rotor type, braking habits, terrain traversed, cleaning routine and so on. Once the minimum thickness has been reached, don’t be enticed to stick around with the same rotor. It is very risky.
A second reason to change the rotor is when it gets bent. High temperatures, a crash, heavy impact on the side are some causes. Another common cause is stowing the bike atop a car and then piling something on top of the rotor.
A bent rotor can be seen plainly or if it comes into contact with the brake pads each time the wheel passes it.
Also, bear in mind that both brake rotors and pads are susceptible to wear. So check the pads too as a matter of routine.
Know the Type of Your Disc Rotor
Disc brakes for bikes are of two types; mechanical- which like rim brakes, work with cables and hydraulic in which the cables are replaced with hydraulic fluid in a fixed-line. The pressure created by the act of braking forces the fluid to occupy the caliper thus pressing the pads against the disc.
Most bikers prefer mechanical brakes as any maintenance required can be done at home. Hydraulic brakes are pricier. The hydraulic fluid needs a change every 6 months. This is best done by a shop mechanic who will bleed and refill the fluid with the recommended oil which is crucial for efficient heat management. Some manufacturers like Shimano do not prescribe a time limit but advice to change when discolored. Nowadays more bikes are sold stock with hydraulic disc brakes.
How to Change a Rotor – 6 Bolt Disc
1. Slacken the Bolts
There’s a trick to this.
Go about loosening the bolts initially very carefully. Too much pressure will round off the heads and you in deep hot water.
At the start, the bolts may refuse to budge. Keep trying, use WD40.
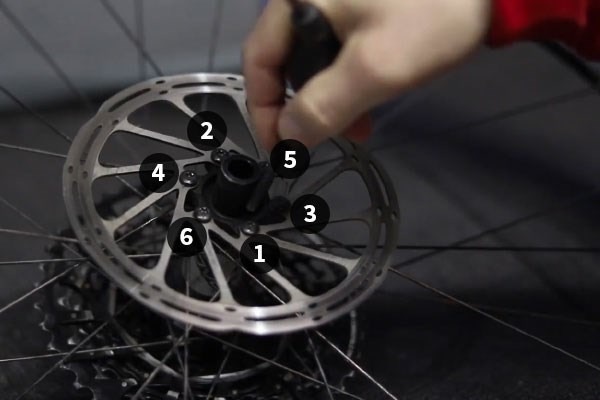
Loosen, say no.1 a bit, go to no.2, over and across the rotor as shown in the figure. This will ensure that the rotor is subjected to even pressure when slackened.
2. Unship the Rotor
Once all of the bolts are loosened take them off and unship the rotor.
3. Replace New Rotor
Replace your new rotor and position it onto the hub.
The rotor markings should be face up.
Using your hand position the bolts and ensure they grip the threads correctly.
Tighten the bolts using a torque T25 Allen key or screwdriver.
Do not tighten all through just yet.
4. Fasten the Bolts

Now we can tightly secure the bolts following the correct procedure.
Follow the same pattern as used when opening the bolts. Tighten on the bolt a bit, hop over to the opposite bolt.
Repeat again till the bolts are in. Now for the final tightening.
Using the proper torque setting, tighten fully at the end. Do not force the bolts.
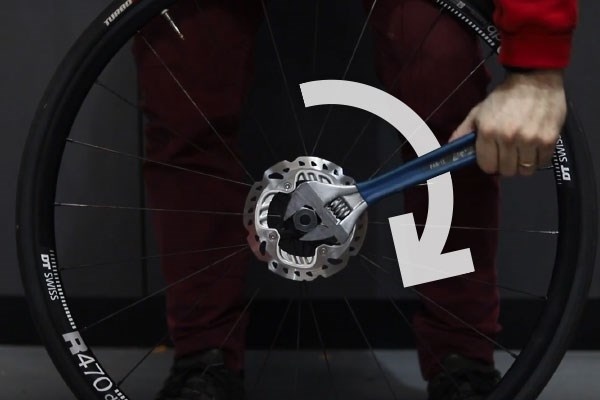
How to Change a Rotor – Center Lock Disc
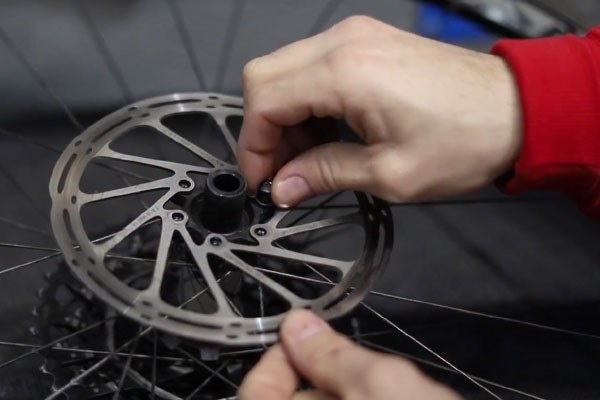
1. Detach the Rotor
A cassette tool is fitted on the lock ring of the rotor.
With the adjustable wrench, loosen it.
Using your hand unscrew the locking ring and completely remove it.
The rotor can now be removed.
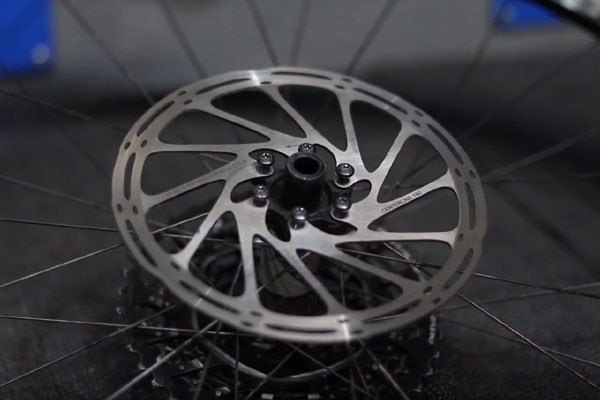
2. Mount New Rotor
The new rear brake rotor is placed on the hub. The rotor will fit in one direction only.
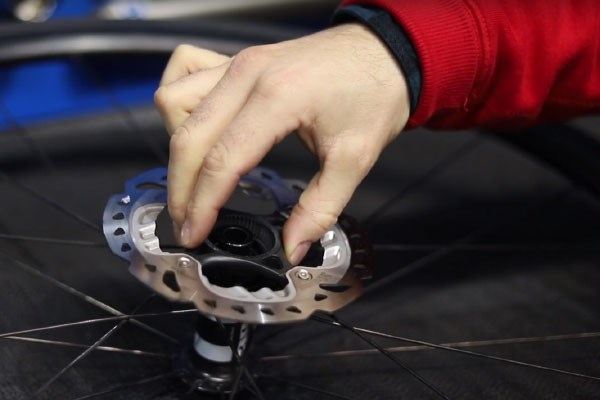
Add a lick of grease to the locking ring so that it comes off easily next time around.
Replace the locking ring on the rotor.
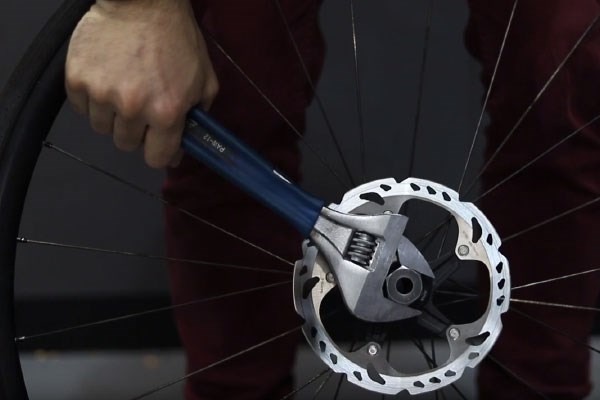
3. Fasten the Locking Ring
By hand screw the locking ring deploying cassette tool. The threads should catch the grooves correctly and not get rounded when being tightened.
Using the adjustable wrench, tighten the locking ring, and secure the rotor.
If you are using the torque wrench, set it correctly. If not, make fast the locking ring considerably without undue force on the spanner.
How to Change a Rotor? – Rotor Adaptors
Disc brake mounts are of two types:
IS mounts- 51mm
Post mounts- 74mm
This is the distance from the centers of the adjoining bolts, also referred to as pitch diameter.
Before purchasing a disc brake you need to make sure that the mounting systems match. If they don’t this is where a disc brake adaptor comes into the picture.

Disc brakes came to bikes in the 1970s. They were post mount brakes.
Nowadays, a new design called ‘flat-mount’ is the order of the day. There is no basic difference between a flat-mount and a post-mount save the location of the bolts.

A 6-bolt rotor can be fitted on a center lock hub using an adaptor kit specially formulated for this objective. The kits can vary a bit from design to design.
An example of how this is performed is given below:
- The adaptor and the hub are mated.
- Bolts are threaded through the rotor into the adaptor.
- Clock the rotor and put in the bolts, tightening in a star pattern just as you would on a 6-bolt hub.
- Install any washers.
- Thread on the lockring by hand first and then torque in.
Now that we have the low-down on how to change brake rotors, and a lot on disc brakes, etc. your DIY knowledge just got a major boost. As an avid bike enthusiast or plain user, it always hurts to shell out for such humble jobs. The added advantage is that you do get to know your bike intimately. So next time around, save yourself a few bucks and get cracking.


