
Riding a bike often results in the wear and tear of its components. If the essential parts of the vehicle are in a poor condition you won’t be able to ride smoothly. That’s why you need to take good care of your lovely bike.
One key component that needs proper maintenance, and replacement if necessary, is the rotors. If you don’t know much about how to remove rotors, we’ll show you the right method.
Why Replace Your Bike Rotors
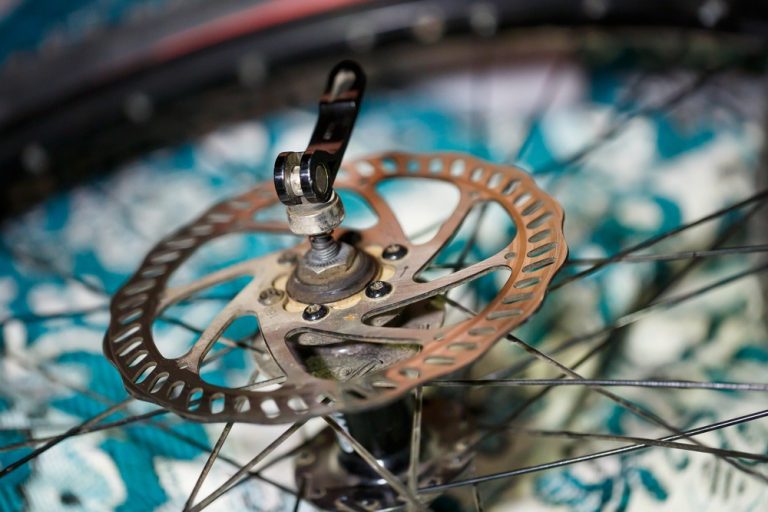
You should check these circular discs frequently and change when the need arises. Follow these inspecting methods:
- Check the caliper’s used surface of the unit. If it’s thinner than the non-usable center surface (spider arm) and the difference is more than 0.2 mm, you need to replace it with a new one.
- Check the roughness or weariness of the braking surface. Use a pick or paper clip and roll it from the center to the braking surface. If you find a step between these surfaces, it’s time for replacement.
- Sometimes, the disc touches the caliper and makes a disturbing sound. This indicates that it has bent that could ruin the caliper. That’s your call to replace it.
How to Remove Rotors? Proper Guide to Remove A Brake Rotor
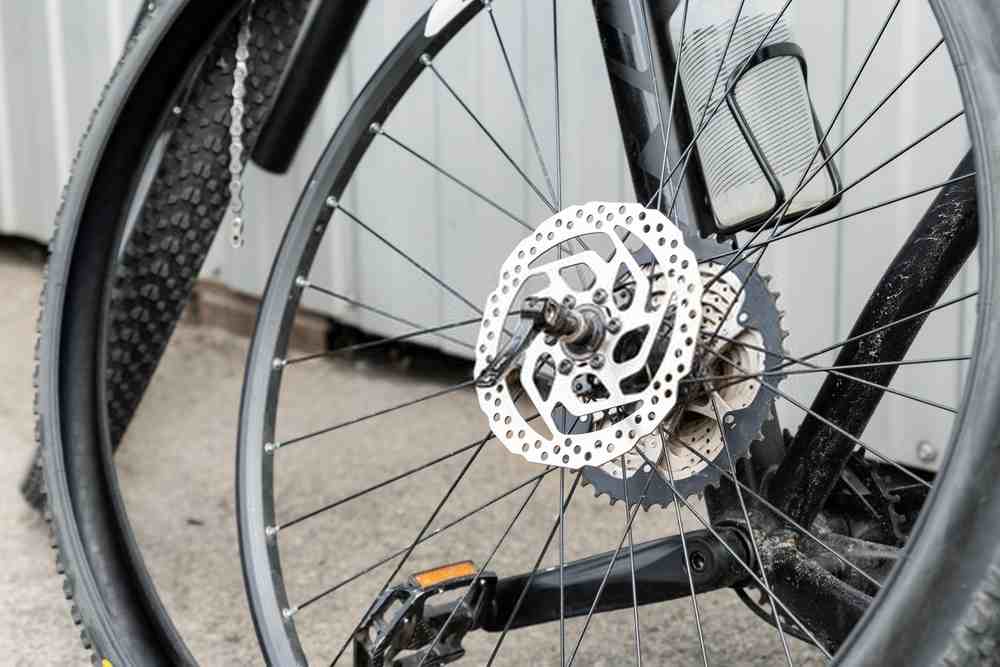
The two types of disc brake rotors are the 6-bolt and center-lock. You need certain tools and a proper guide to remove them skilfully.
a) 6-Bolt
Get the right sized wrench for unfastening the bolts. First, loosen all the six bolts with a wrench. Then remove the bolts and safely detach the component. Sometimes, the bolts are covered with rust, making them difficult to unfasten. You can use a few drops of lubricant to remove them easily.
b) Center-lock
You need the right-sized lockring tool and a 3-inch simple wrench. Now, choose an appropriate lockring determined by the notches. Keep in mind that the notches can either be on the inside or on the outside. Now adjust the wrench on the lockring and remove the center lock. Then smoothly remove the unit.
How to Install Brake Rotors?
a) 6-Bolt
Installing a new rotor is not difficult; you just need to follow a pattern to fix everything.
- First of all, purchase one of your preferred sizes: 140, 160, 180 and 203mm.
- On the new rotor, you’ll see an arrow that’ll determine the direction of its rotation. You need to match its rotational direction with the wheel’s direction.
- Now, set it on the hub so that its 6 holes align with the 6 holes of the hub.
- You can use a drop of thread locker in the drilling hole for more adhesion.
- Fix the bolts in a star pattern through the component in the hub with the wrench.
- Torque the bolts.
b) Center-lock
These are also easy to install.
- Center-locks are also available in different sizes (140, 160, 180, and 203mm). Pick one as per your needs.
- There will be printed instructions on the outer side about the rotational direction. Fix in such a way that it follows the same direction as the wheel.
- Place it on and use your hands to tighten with a lockring.
- Find the notches on the lockring – they can be on the outside or inside. Be precise about your lockring tool as per the notches.
- Lastly, torque the lockring as per the manufacturer’s instructions.
Tips & warnings
Here are some handy tips and warnings that you need to be mindful of before removing and installing a new rotor.
- Always clean the work area. Don’t use grease or any other lubricant on the disc. Don’t use more than a drop of thread locker in bolting holes.
- You should wear nitrile gloves before touching the new piece to save it from any contamination.
- After fixing the component, fix the wheel. Check the alignment of the rotor and caliper.
- You need to apply a calculated force to fix the unit; otherwise, you might bend it.
- You can modify a 6-bolt rotor into a center-lock one with an adapter kit.
Conclusion
Follow our instructions to change your bike’s component and continue to have a smooth and comfortable ride!
FAQs
1. What can I use to clean bike rotors?
Ans. The most recommended method is cleaning with isopropyl alcohol on a soft and clean piece of cloth. You can also try soap and water to clean the grime off of the surface.
2. Can I use rubbing alcohol to clean brake rotors?
Ans. Definitely! If the purpose is cleaning, rubbing alcohol is like isopropyl alcohol. Take a lint-free clean rag and pour small rubbing alcohol on the rag to clean them. This will work like isopropyl alcohol.


