
You can’t ride a gear shift bike without derailleurs. While there are several ways to attach a front derailleur, we are looking at the braze-on front derailleur.
Here we will look at what a braze-on front derailleur is, how it works, and how to maintain and weld a braze-on onto a steel-frame bike.
What is a front derailleur?
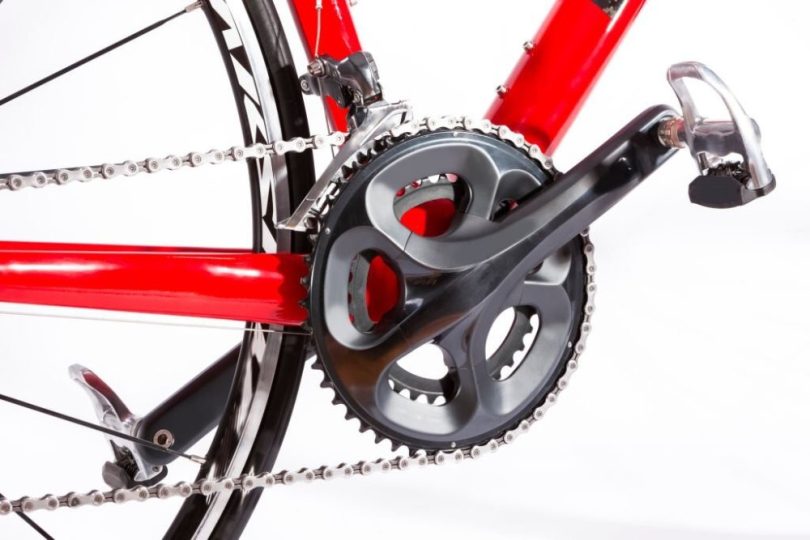
When you are shifting gears as you ride a bike, the chain moves between the chainrings to change the bike’s speed. The front derailleur uses the top of the chain at the tightest part to move the chain between the chainrings in a side-to-side motion.
The derailleur uses a cage to keep the chain in place as it switches gears. Your chainring size is based on the chain’s number of teeth, which can range from 20 teeth to 53 teeth. Parts of the derailleur include the lever arms, the actuating arm, a spring, and the front derailleur cable.
How the front derailleur works
The cage is two long plates connected at the bottom and top that sit on each side of the chain. The only time a properly adjusted cage should touch the chain is in mid-shaft. The cage is attached to the two lever arms mounted to the bike’s frame.
You trigger the lever to shift gears. The front derailleur cable moves the cage to the outside, moving the inner chainring outward to another chainring. When the chain is on the new chainring, you can switch the rear gears until the chain goes back to the inner ring.
When you engage the lever cable, the derailleur spring and the front derailleur move the chain back to the inner ring. The front derailleur can only engage while you are pedaling the bike though you need to slow the pedaling a bit when you shift to the larger chainring.
What Is a Braze-on Front Derailleur?
A braze-on derailleur mounts to the plate part of the bike and attaches to the tube the seat sits on. The mounting plate is held with hex or Torx bolts or riveted to the stem. It gets its name “braze-on” from the brazing torch used to attach the front-derailleur to the metal-framed bike. The mounting plates are adjustable so that you can adjust the derailleur.
You can find braze-on front derailleurs on most road bikes, but rarely will you find one on a mountain bike.
Braze-on front derailleur compatibility
Adding a braze-on to another bike isn’t hard, but there are a few guidelines you need to follow.
The front derailleur and shifter are created for the bike and should stay together. So if you change the derailleur, it should be the same brand as your shifter. This is because the chainrings that come with the derailleur are specific to that derailleur and offer the best biking experience.
If you buy a new bike frame, you can buy an adapter to attach a braze-on to the new front derailleur.
How to Weld a Braze-on to a Steel Frame?
If you have never welded, you may want to have this done by a professional.
Tools
- Welding goggles
- Brazing clamps
- Any pieces you are looking to weld; i.e., guides or reinforcements
- Silver or bronze wire filler
- Oxy-Acetylene torch
- Flux
Step 1
Gather any tools and equipment you need in a well-ventilated area.
Step 2
Place the braze-on pieces you are welding to the frame in place and secure them with the brazing clamps.
Step 3
To protect your eyes from the infrared/ultraviolet light and heat, ensure your welding goggles are in place.
Step 4
To prevent oxidation during the weld, we are using the Flux. Use the Oxy-Acetylene torch to heat the braze-on and frame together with the Flux. Remove the clamps when the Flux is welded.
Step 5
Once the braze-on and the frame are at the temperature you need, add the filler wire to the Flux. Since filler wire welds at a lower temp than your steel, the filler wire should melt quickly.
Step 6
Once you have completed the weld, allow the wire to cool down so it will harden. When the filler metal is hard, the braze-on should be well attached.
Quick braze-on maintenance tips
No special maintenance is required for a braze-on. Check this regularly to ensure it is not damaged or cracked, which doesn’t happen often but can happen on older bikes.
Salt and moisture are the biggest problems for braze-ons. Keeping the area around the braze-on salt and moisture-free will prevent corrosion that will weaken the braze-on.


