
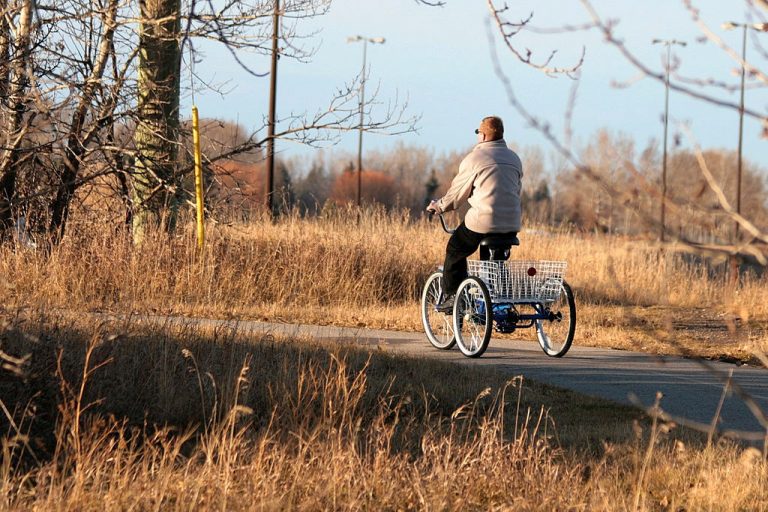
For some people, riding a bike isn’t a pleasant experience. Something as simple as pedaling can be a great challenge for those suffering from severe muscle and joint pain. However, turning a bike into a tricycle is the best solution to that problem.
Tricycles are more stable than bikes, so you won’t have to worry about losing your balance and falling to the ground. Also, they generate more traction on the rear wheels for a better performance on slopes. Best of all, the space between the rear wheels is wider for carrying more cargo.
Making your own tricycle may be an interesting personal project considering a brand-new adult tricycle is beyond your reach. It isn’t as difficult as it seems and you don’t need too much money to do it. Today, we’ll show you the steps using a conversion kit.
How to Build a Tricycle for Adults?
Way 1 -Using a rear wheel conversion kit
1. Remove the chain and rear wheel
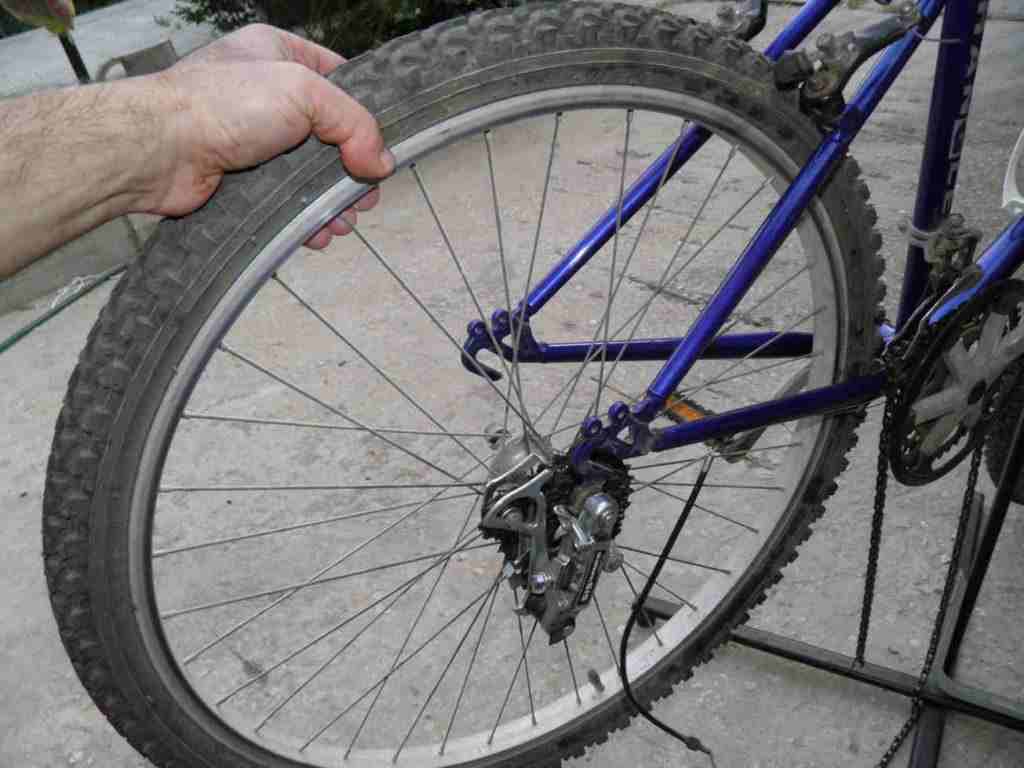
First of all, put your bike upside down and support the top tube of the frame on a pair of hardwood blocks. Then, remove the chain and the rear wheel using a pair of nut wrenches.
2. Remove the derailleur and brakes
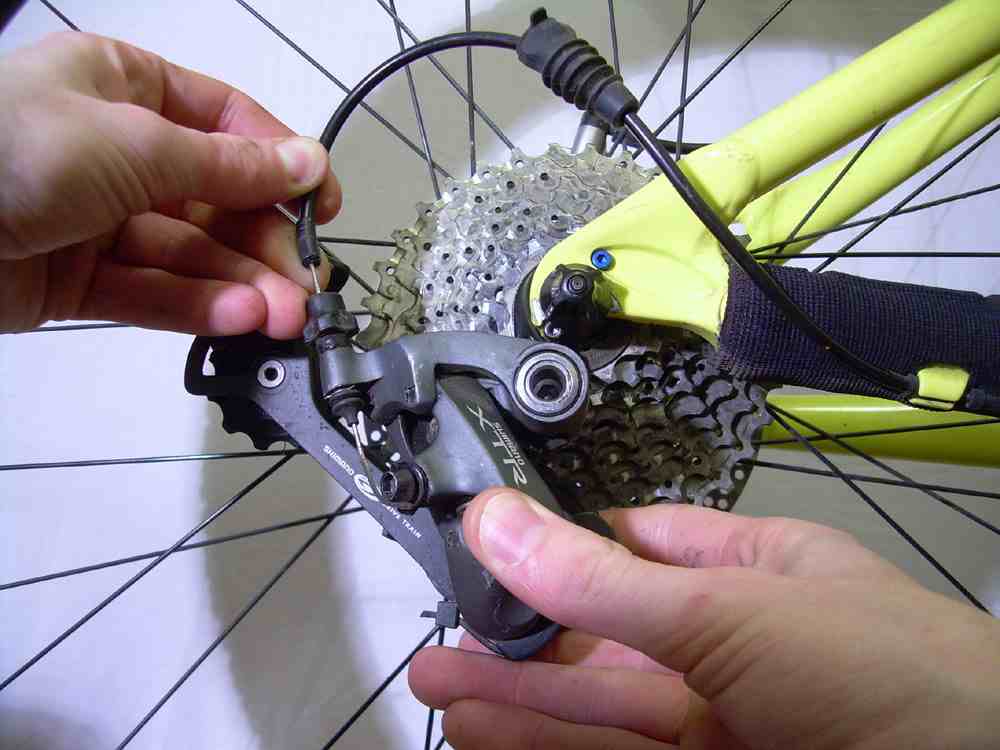
If you have a multi-speed bike, remove the derailleur from the rear wheel. Depending on the kind of braking system the bike has, remove the disc or the side-pull brake. Also, remove the braking cables.
3. Read the assembly instructions
Carefully read the instructions of the conversion kit. Make sure all the required parts are included in the kit. Then organize all parts and fasteners so you don’t waste too much time trying to find each one during the installation process.
4. Install the rear sprocket and rear axle
Insert the rear axle through the rear sprocket following the instructions. Then install the rear axle on the rear fork. Finally, use a nut wrench to install the spacers and the lock washers to fix the axle in place.
5. Install the rear wheels
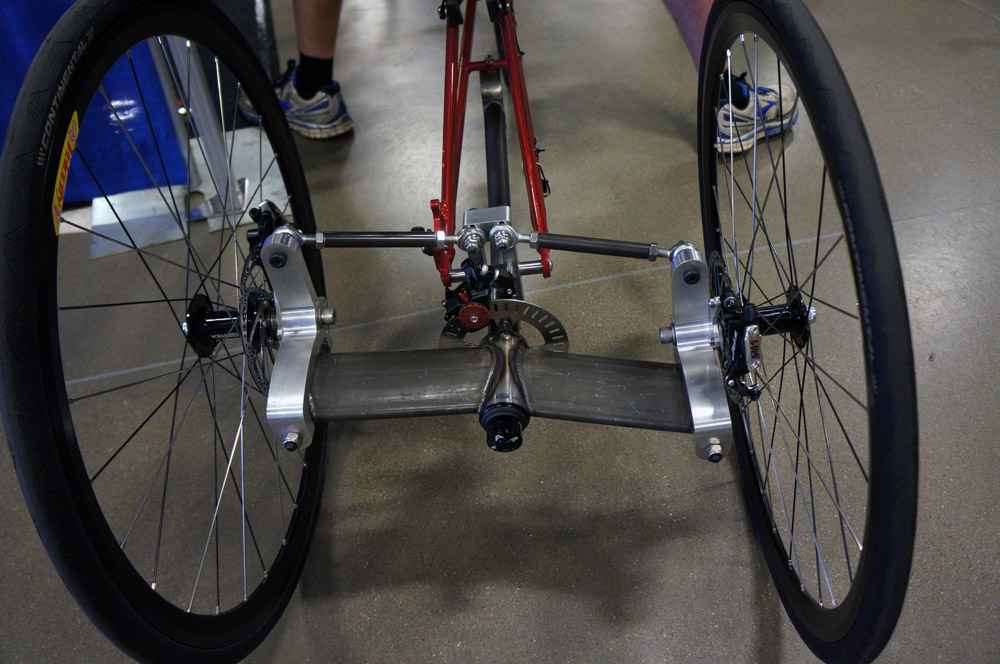
Install a pair of wheels on each extreme of the axle and use nuts to secure them. Then, lift the bike and support it on its wheels. Store the hardwood blocks in a safe place.
6. Reinstall the derailleur

Reinstall the old derailleur or the new one included in the conversion kit. Then, reattach the cables from the braking system.
7. Reinstall the chain
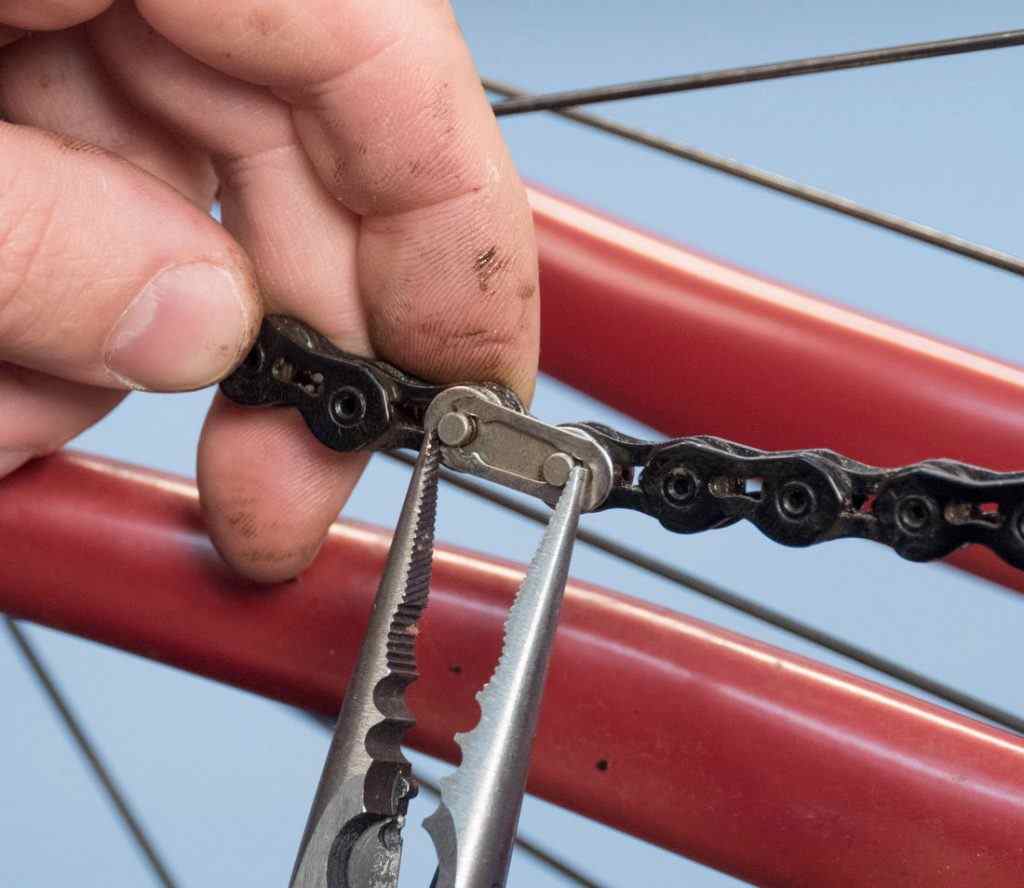
Open the chain by removing its master link. Then, install the chain on the rear and front sprockets. Close the chain and reinstall the master link. Finally, reinstall the chain guard.
Way 2 – Using a front wheel conversion kit
1. Remove the front wheel and brakes
Put the bike upside down and support it on a pair of hardwood blocks. Then, remove the front wheel, the front brakes and the braking cables.
2. Read the assembly instructions
Carefully read the instructions included in the conversion kit. Make sure there aren’t missing parts or fasteners in the kit. Then, organize the pieces so you don’t waste too much time trying to find each one during the installation.
3. Remove the front fork
Using a nut wrench, remove the front fork and disassemble the steering headset. Then, install the special forks to transform your bike into a 3 wheel bicycle. Use the removed cap nut, washers and spacers to fix the forks in place. After that, install the front axle on the forks.
4. Install the front wheels plates
Install both wheel plates on each side of the front axle. Then, install the steering arms between the front forks and the corresponding fittings on the spindles. Install the bushing of each connection if needed.
5. Install the front wheels
Install the inner bearings of each spindle. Then, put one wheel on each spindle and then install the bearing retainer and the external bearing of each wheel hub. Secure the wheels to the front axle using the axle nuts. Finally, apply pressure on the protecting caps of the bearings inside the wheel hubs.
Now you have your own adult trike ready! It’s time to look cool and enjoy your new freedom with no bounds.
Safety Notes
- Make sure to apply the right pressure on each nut. Overtightened nuts may break easily with high impacts and deform the surrounding metal parts when you’re riding your trike. On the other hand, too loose nuts may generate vibration and noise when the bike is moving.
- Maybe, the old brake system of your bike won’t be enough for your new tricycle. The added weight could make the brakes don’t respond as well as expected when going down hills. In that case, it’s better to install a more advanced and robust braking system, with bigger discs and brake pads.
- If it has been too long since the last time you changed the bearings of your wheels, check out their current status. If the inner balls are too worn, replace the bearings before reinstalling the wheels.


